Baby Booties & Hat Set
A classic baby shower gift: both pieces use the same simple stitches, so once you've made the hat, the booties come together quickly using the same skills.
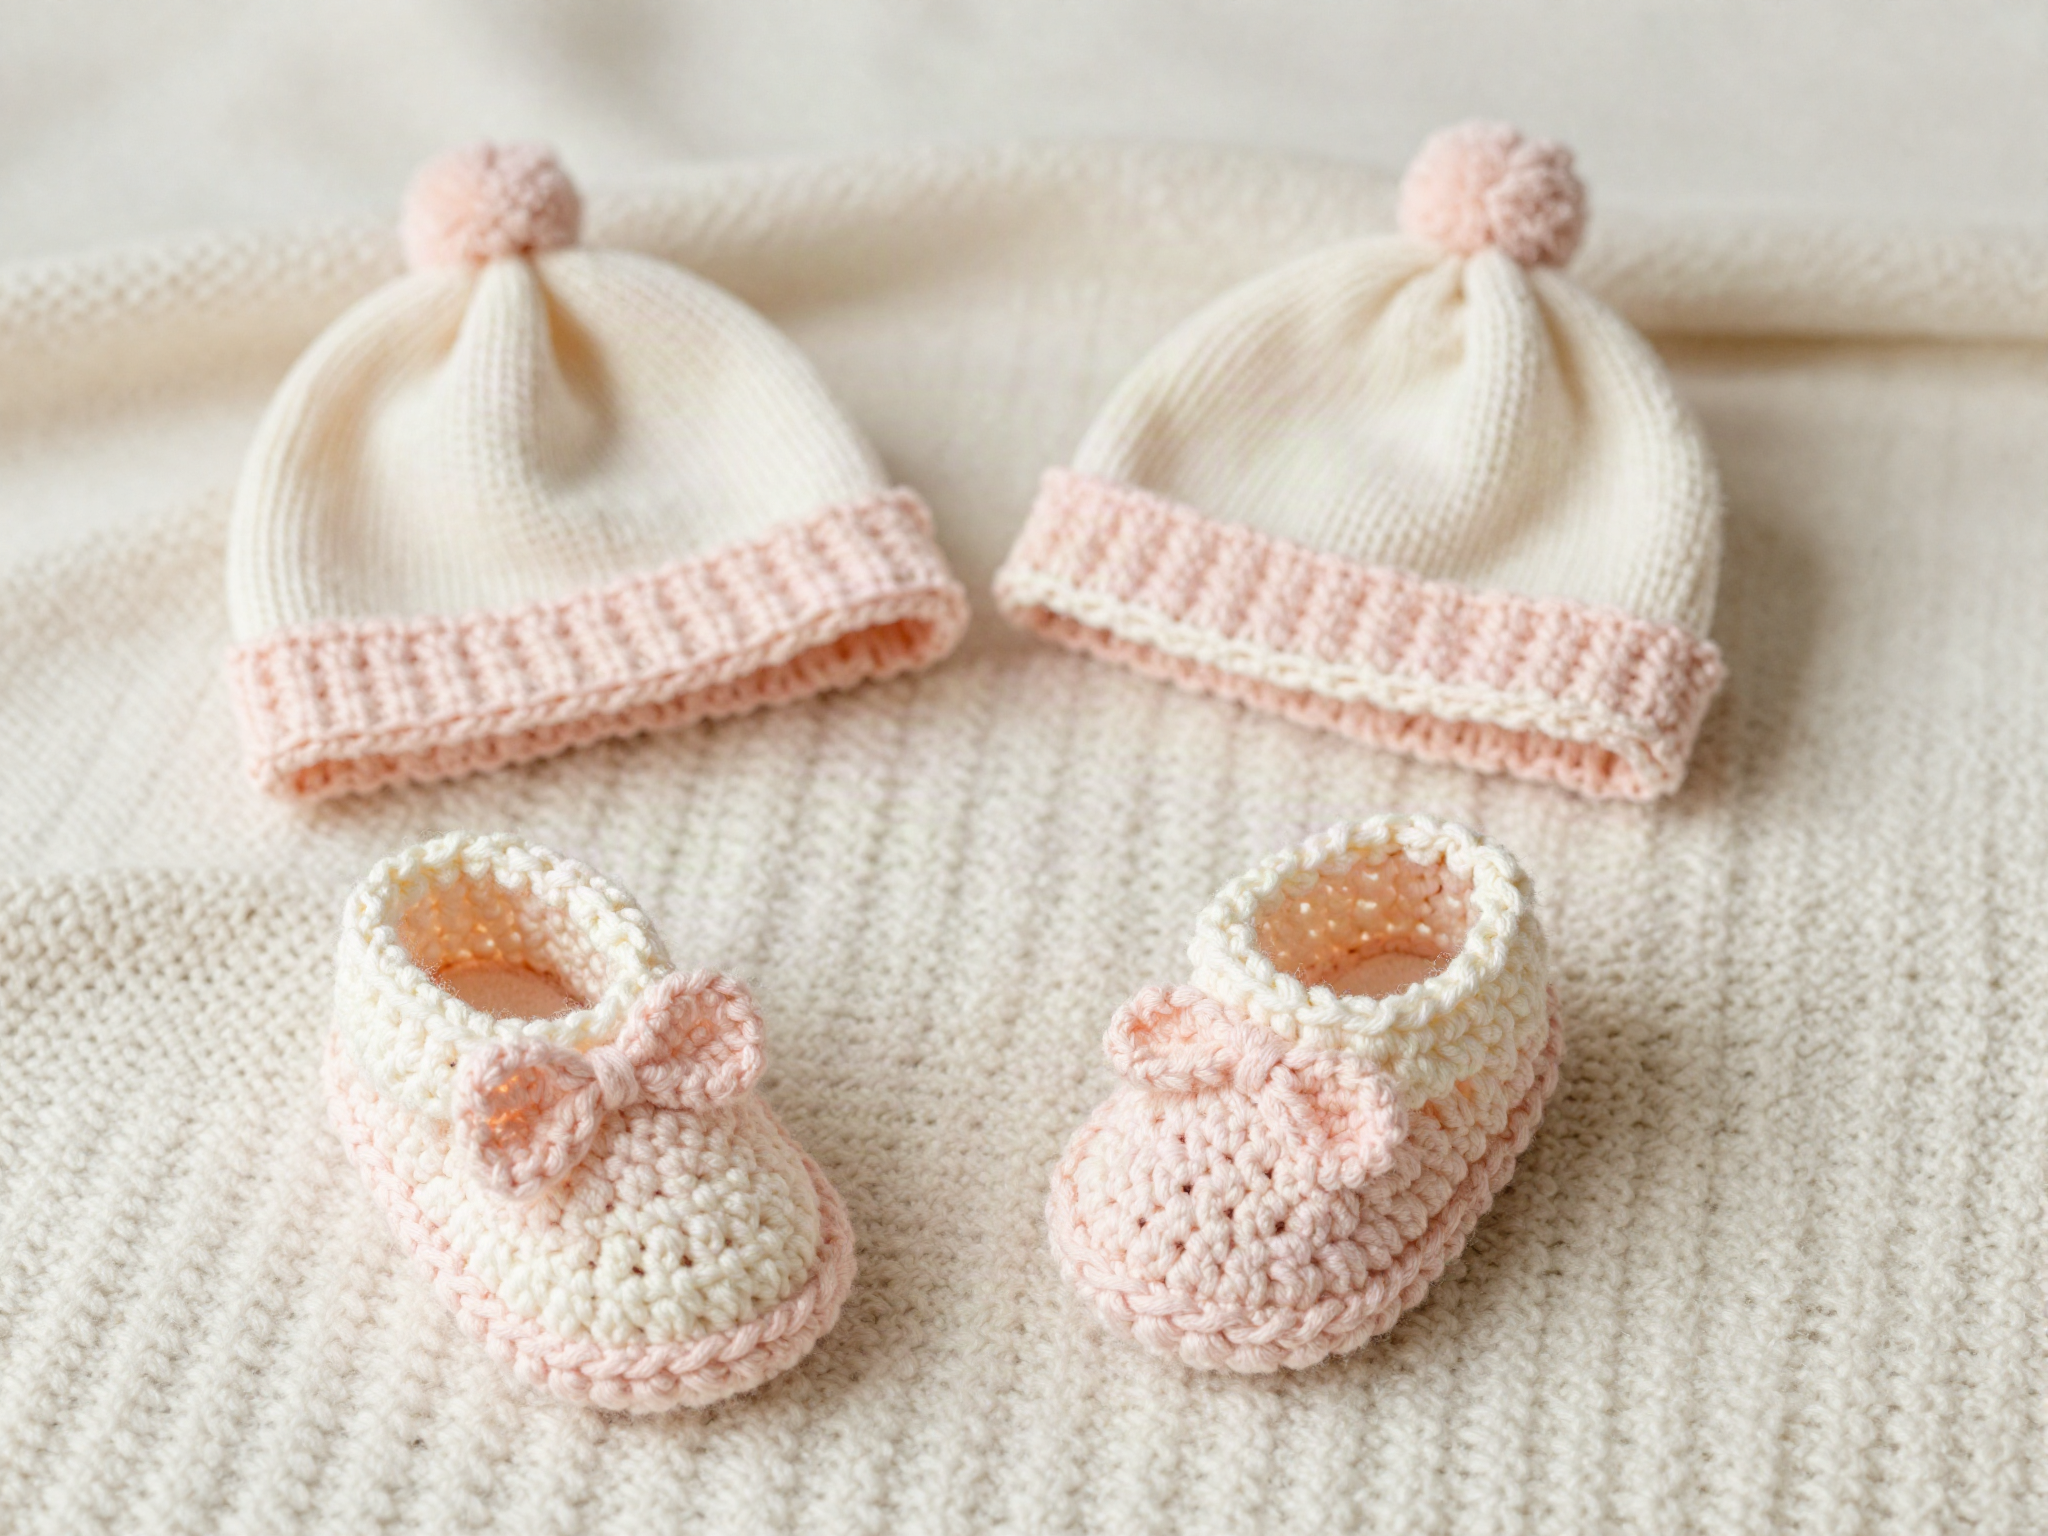
Materials & Yarn
- 200 yds DK weight machine-washable yarn
- 3.5mm crochet hook
- Narrow ribbon (optional, for booties)
- Tapestry needle
Step-by-Step Instructions
- 1
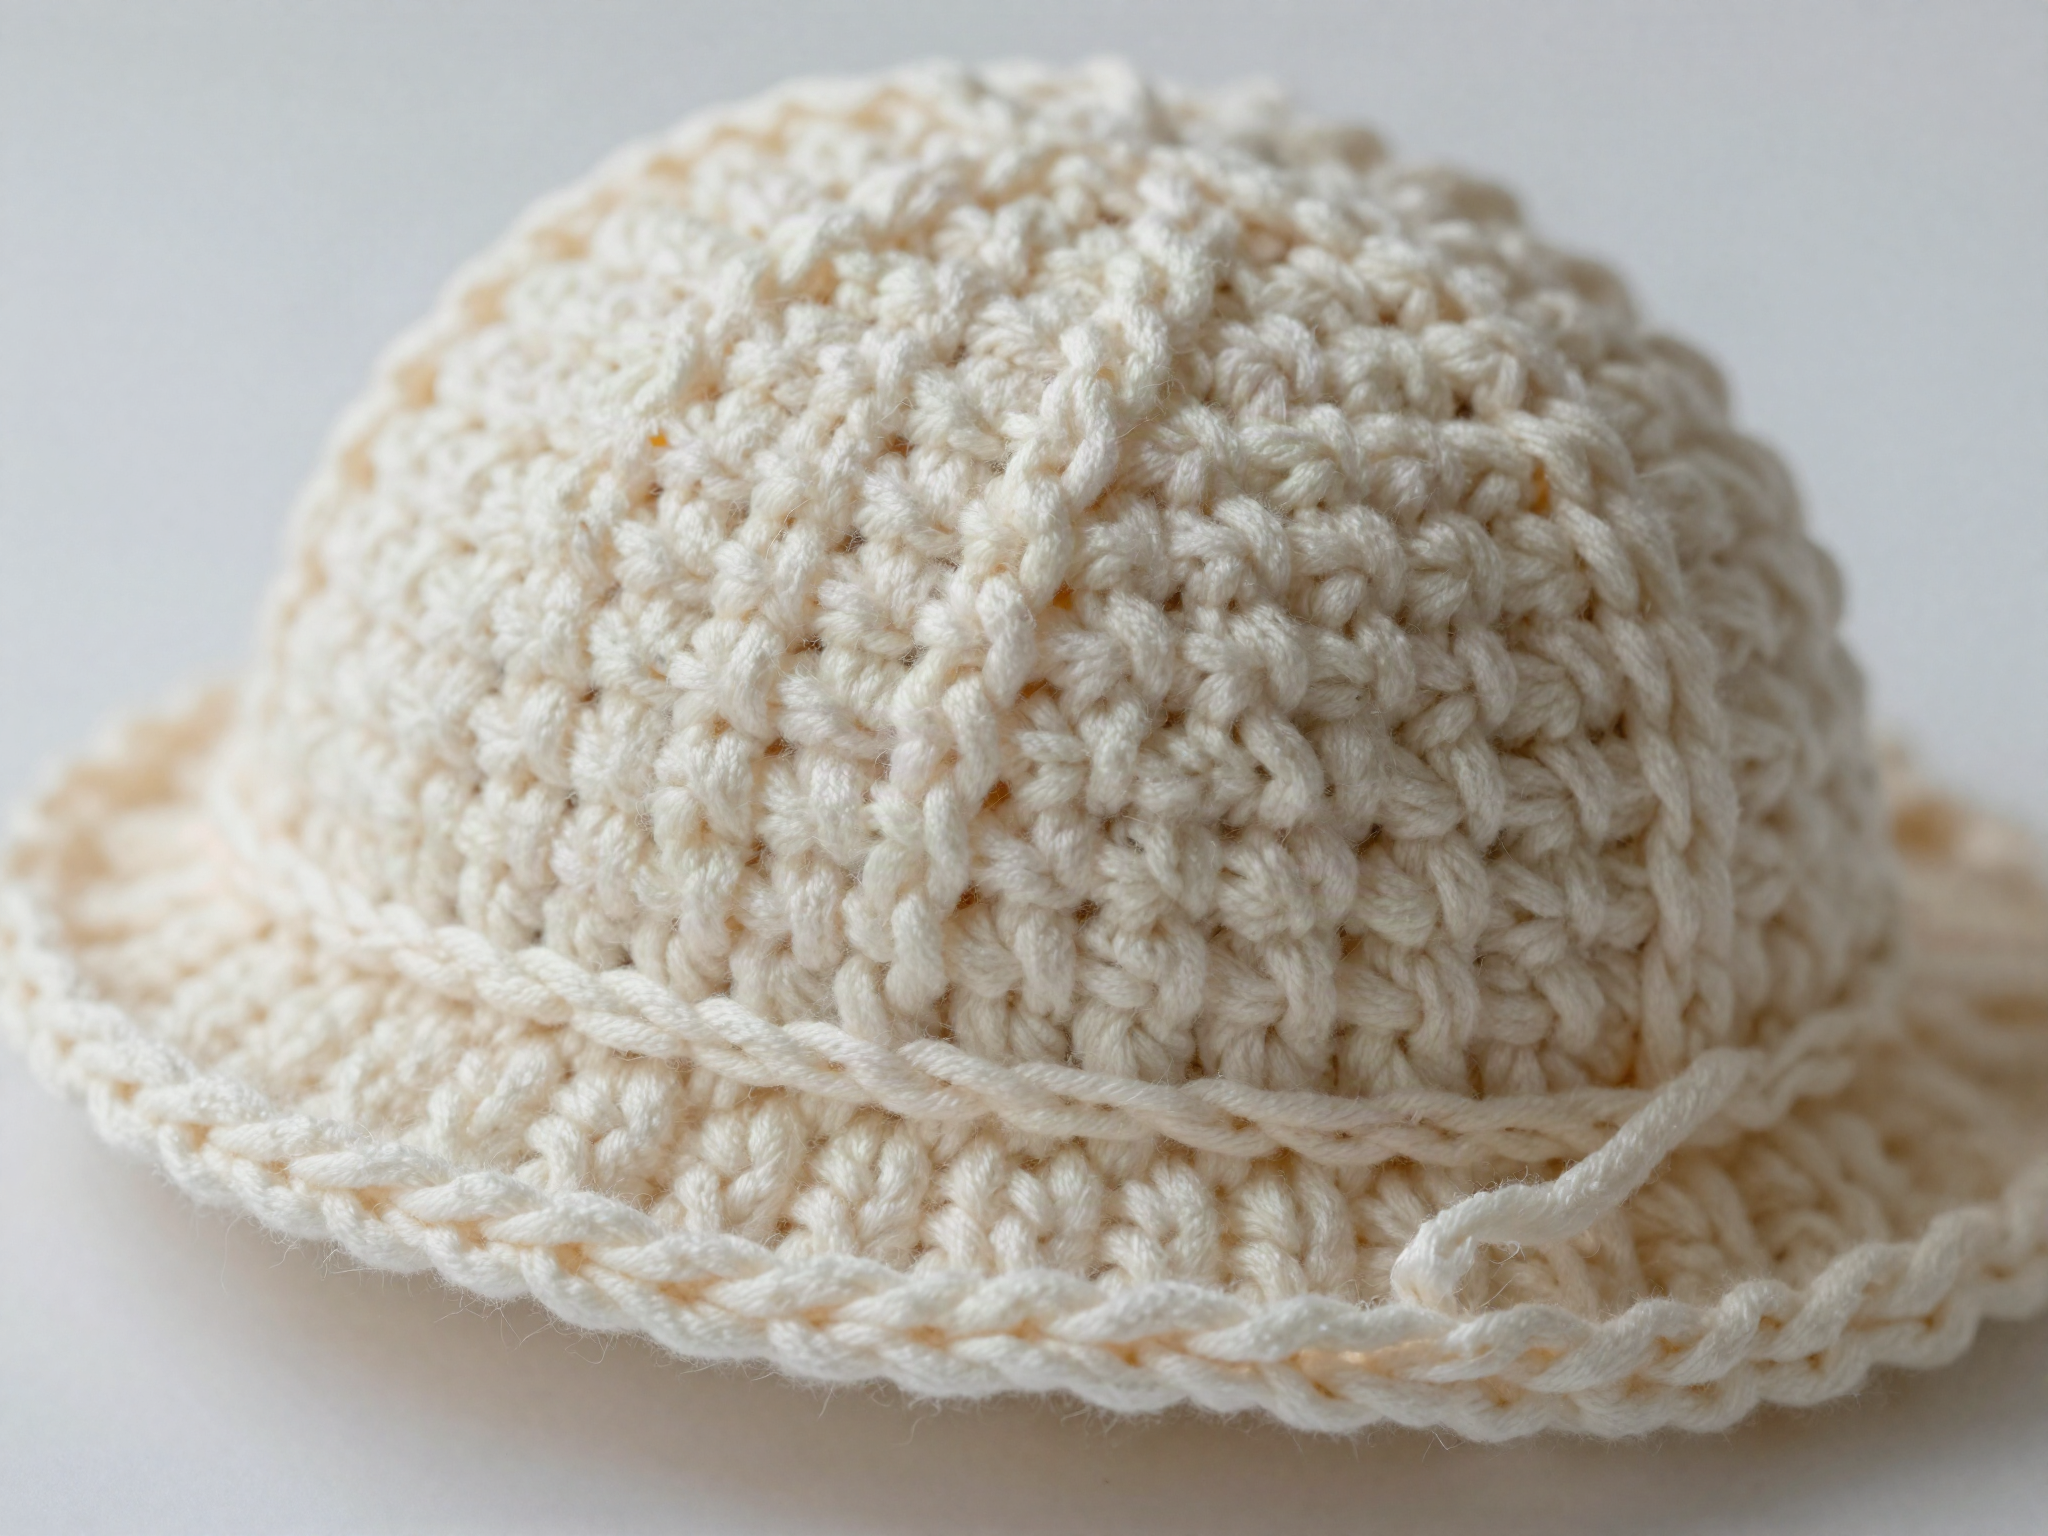
Crochet the hat crown
Work a magic ring and increase in rounds until the crown reaches the baby's head circumference (newborn: approx. 13–14 in).
- 2
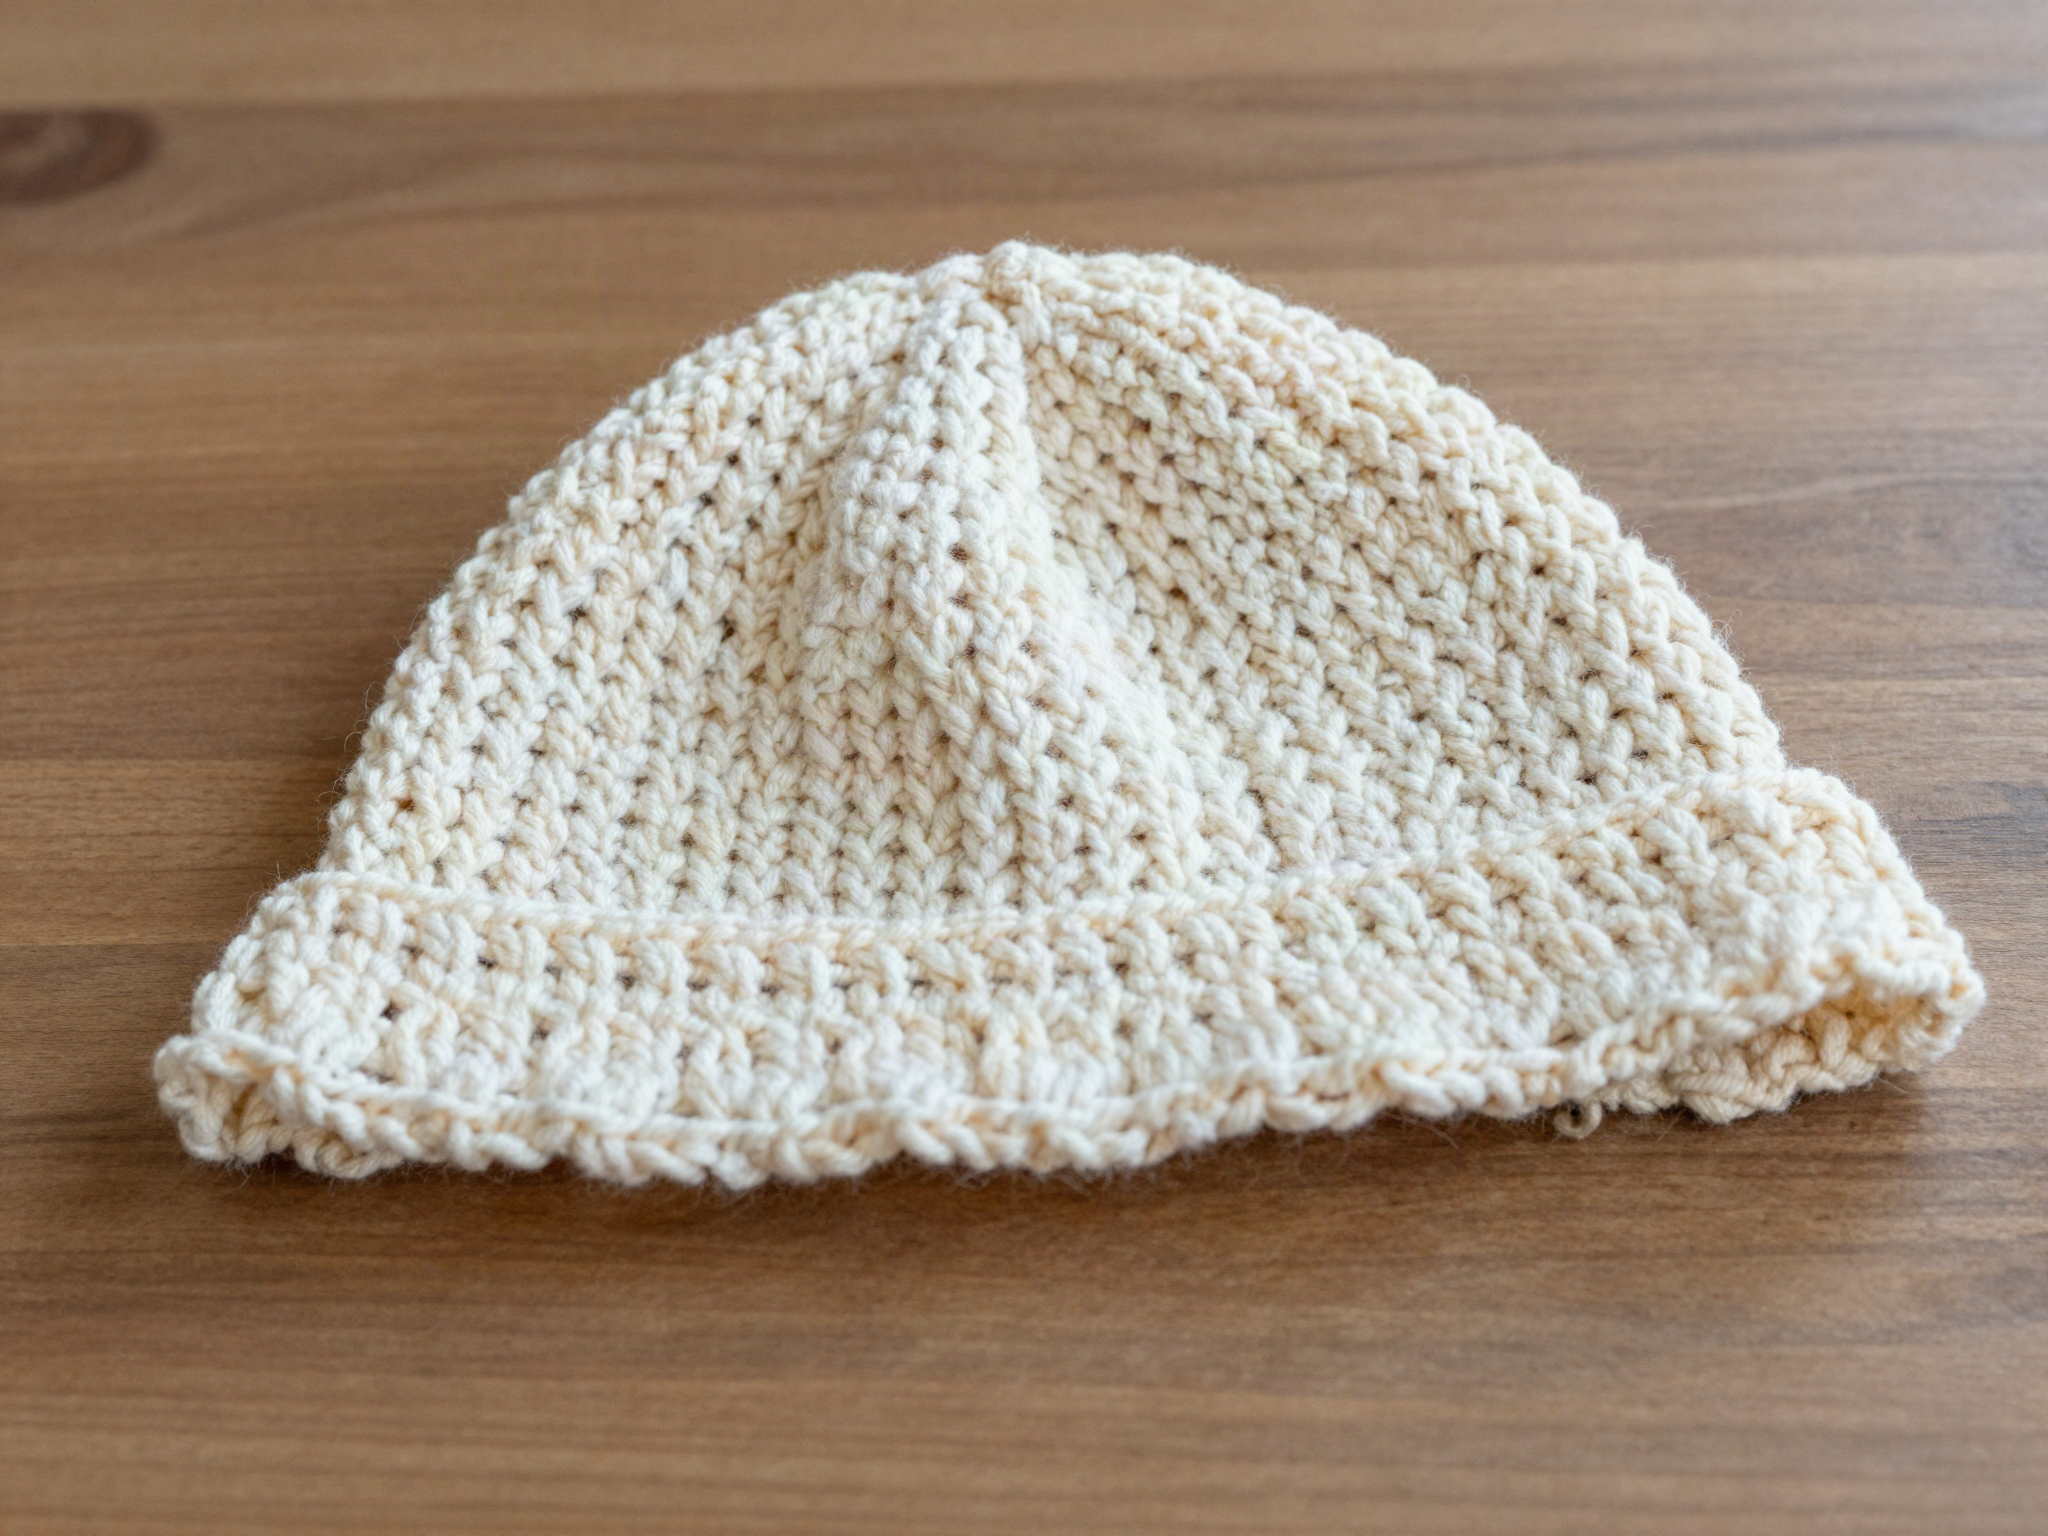
Finish the hat body and brim
Continue straight for several rounds, then add a folded or ribbed brim.
- 3
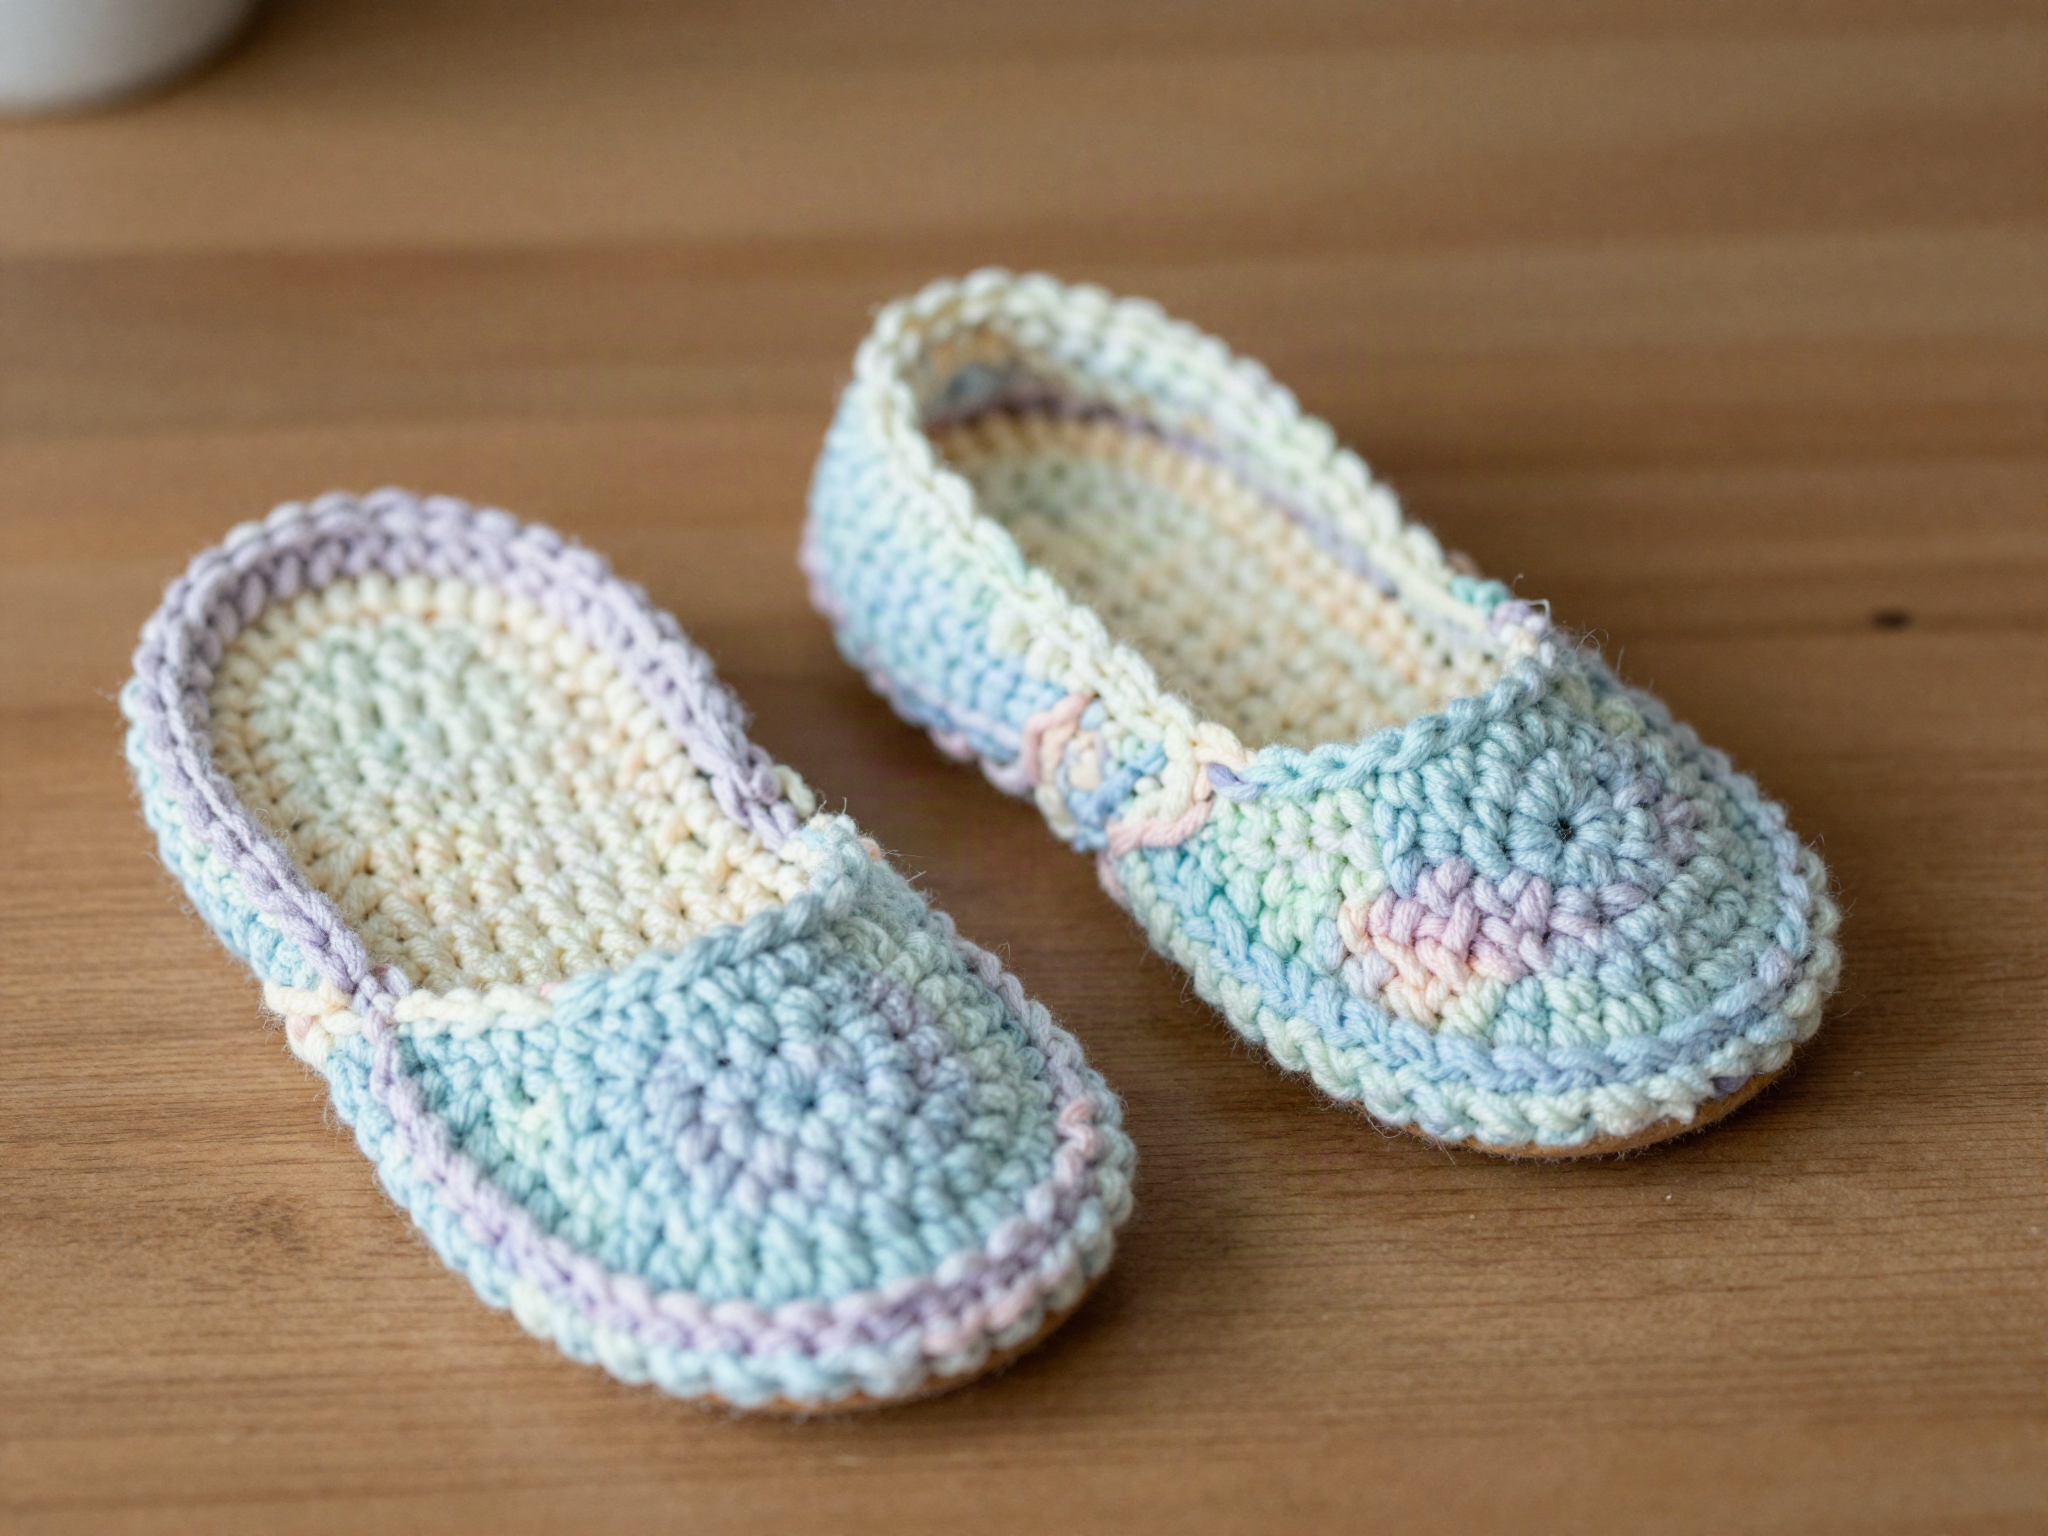
Crochet the bootie soles
Chain and single crochet around in an oval to form two soles matching the hat gauge.
- 4
Build up the bootie sides
Continue in rounds from the sole, decreasing gradually to shape around the ankle.
- 5
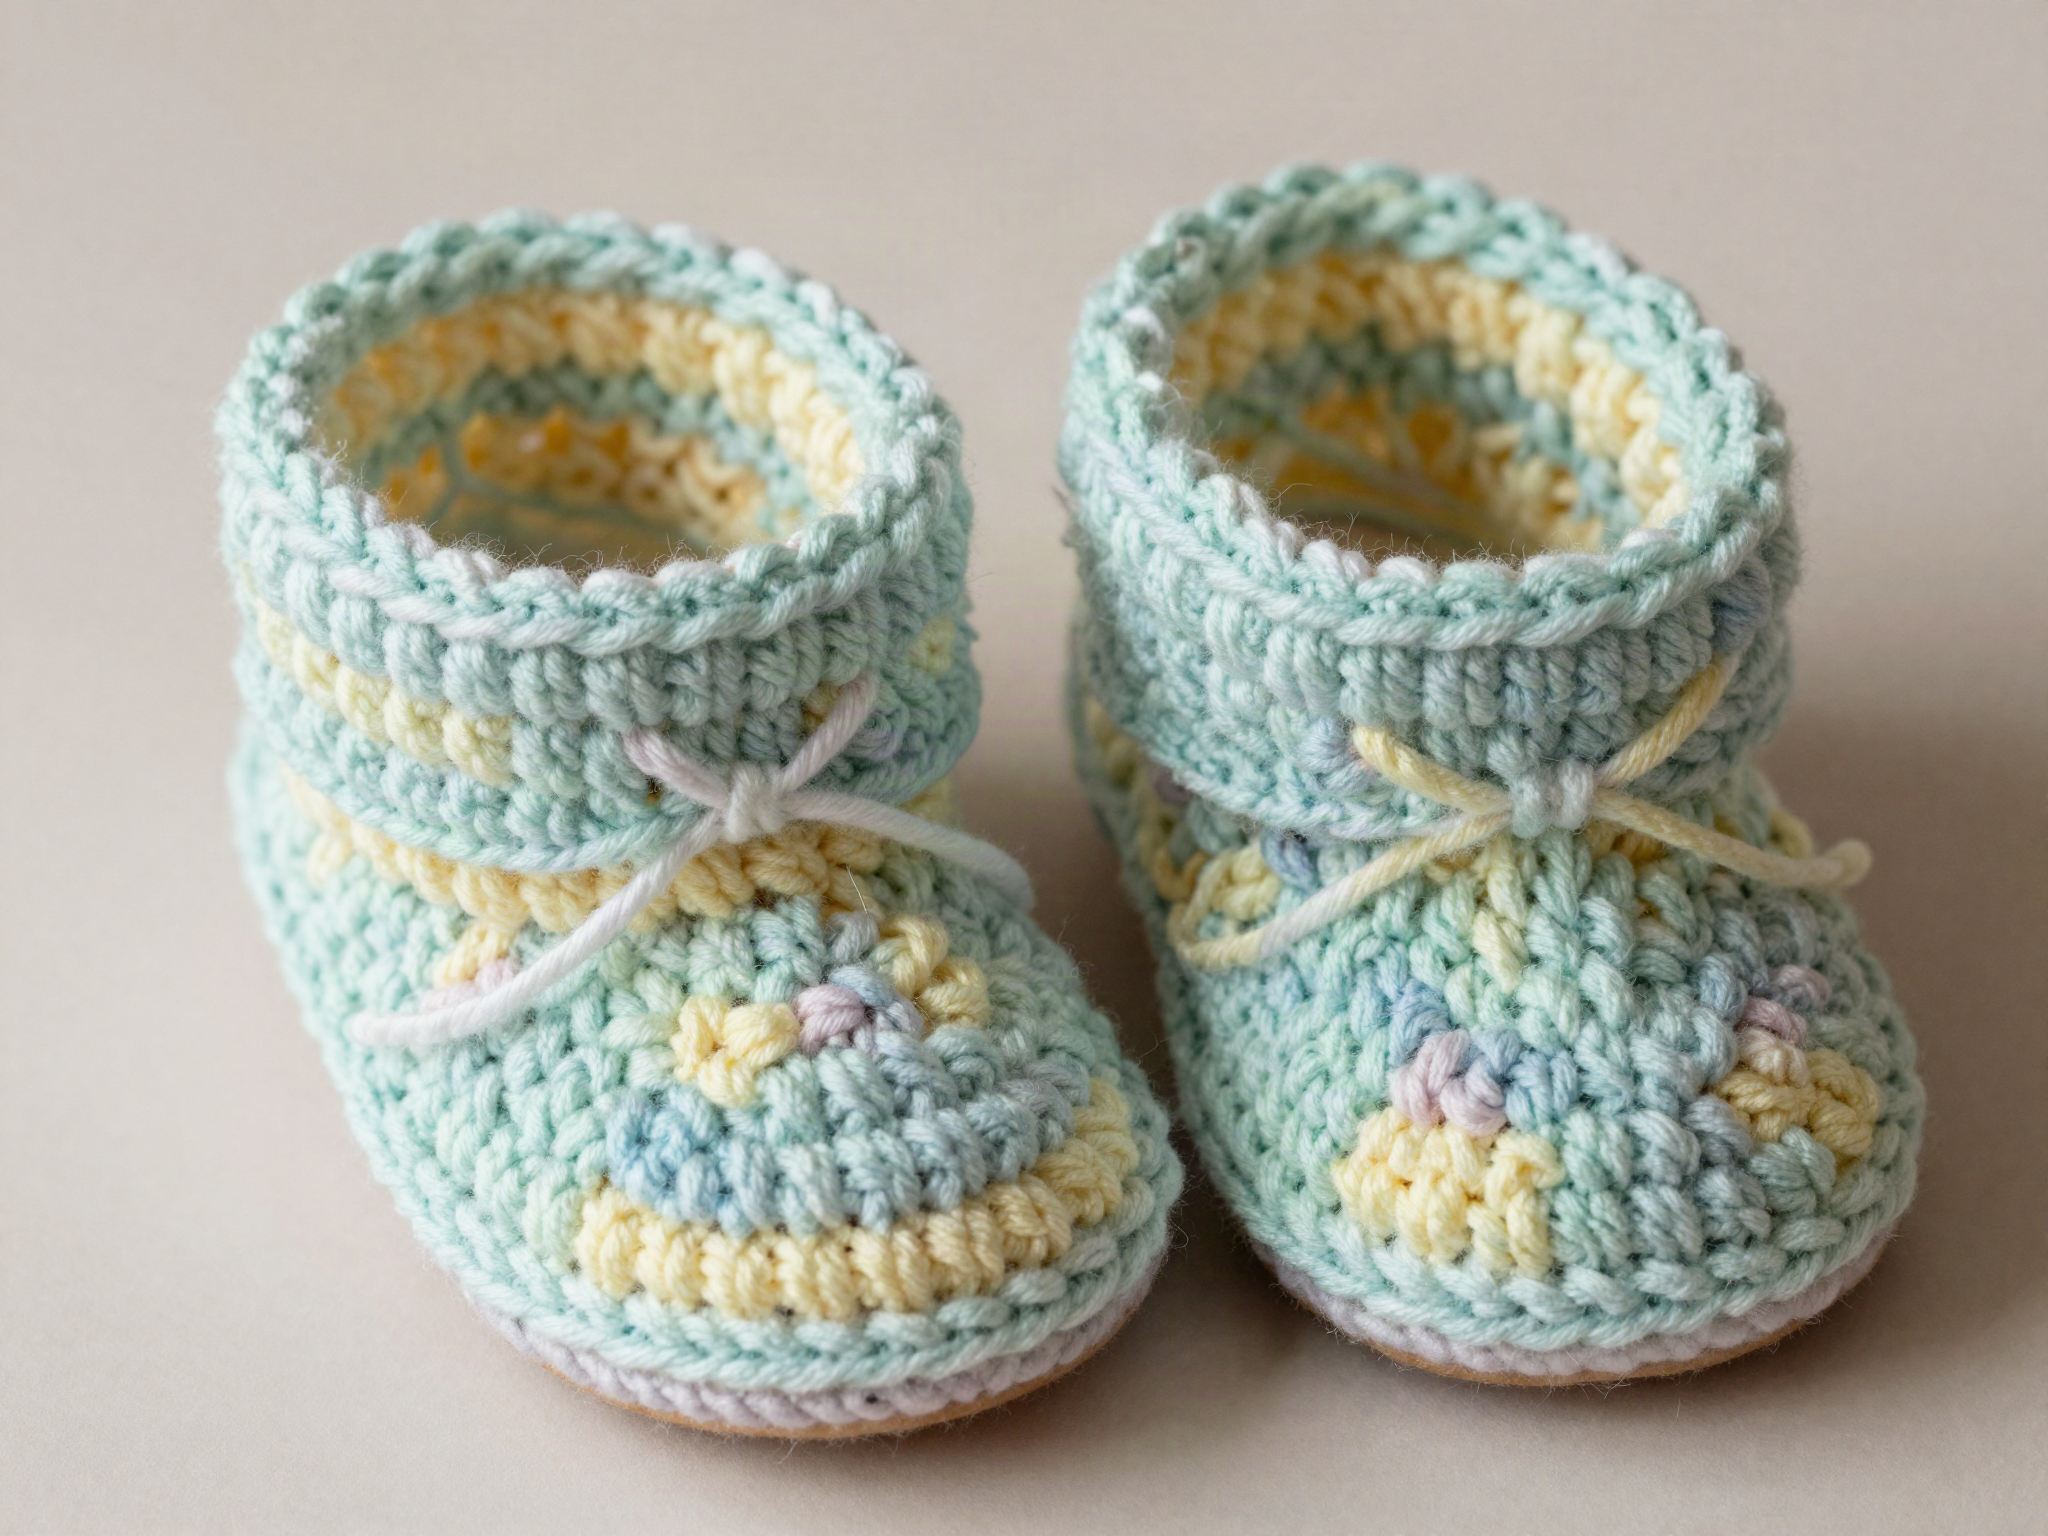
Add cuffs and ties
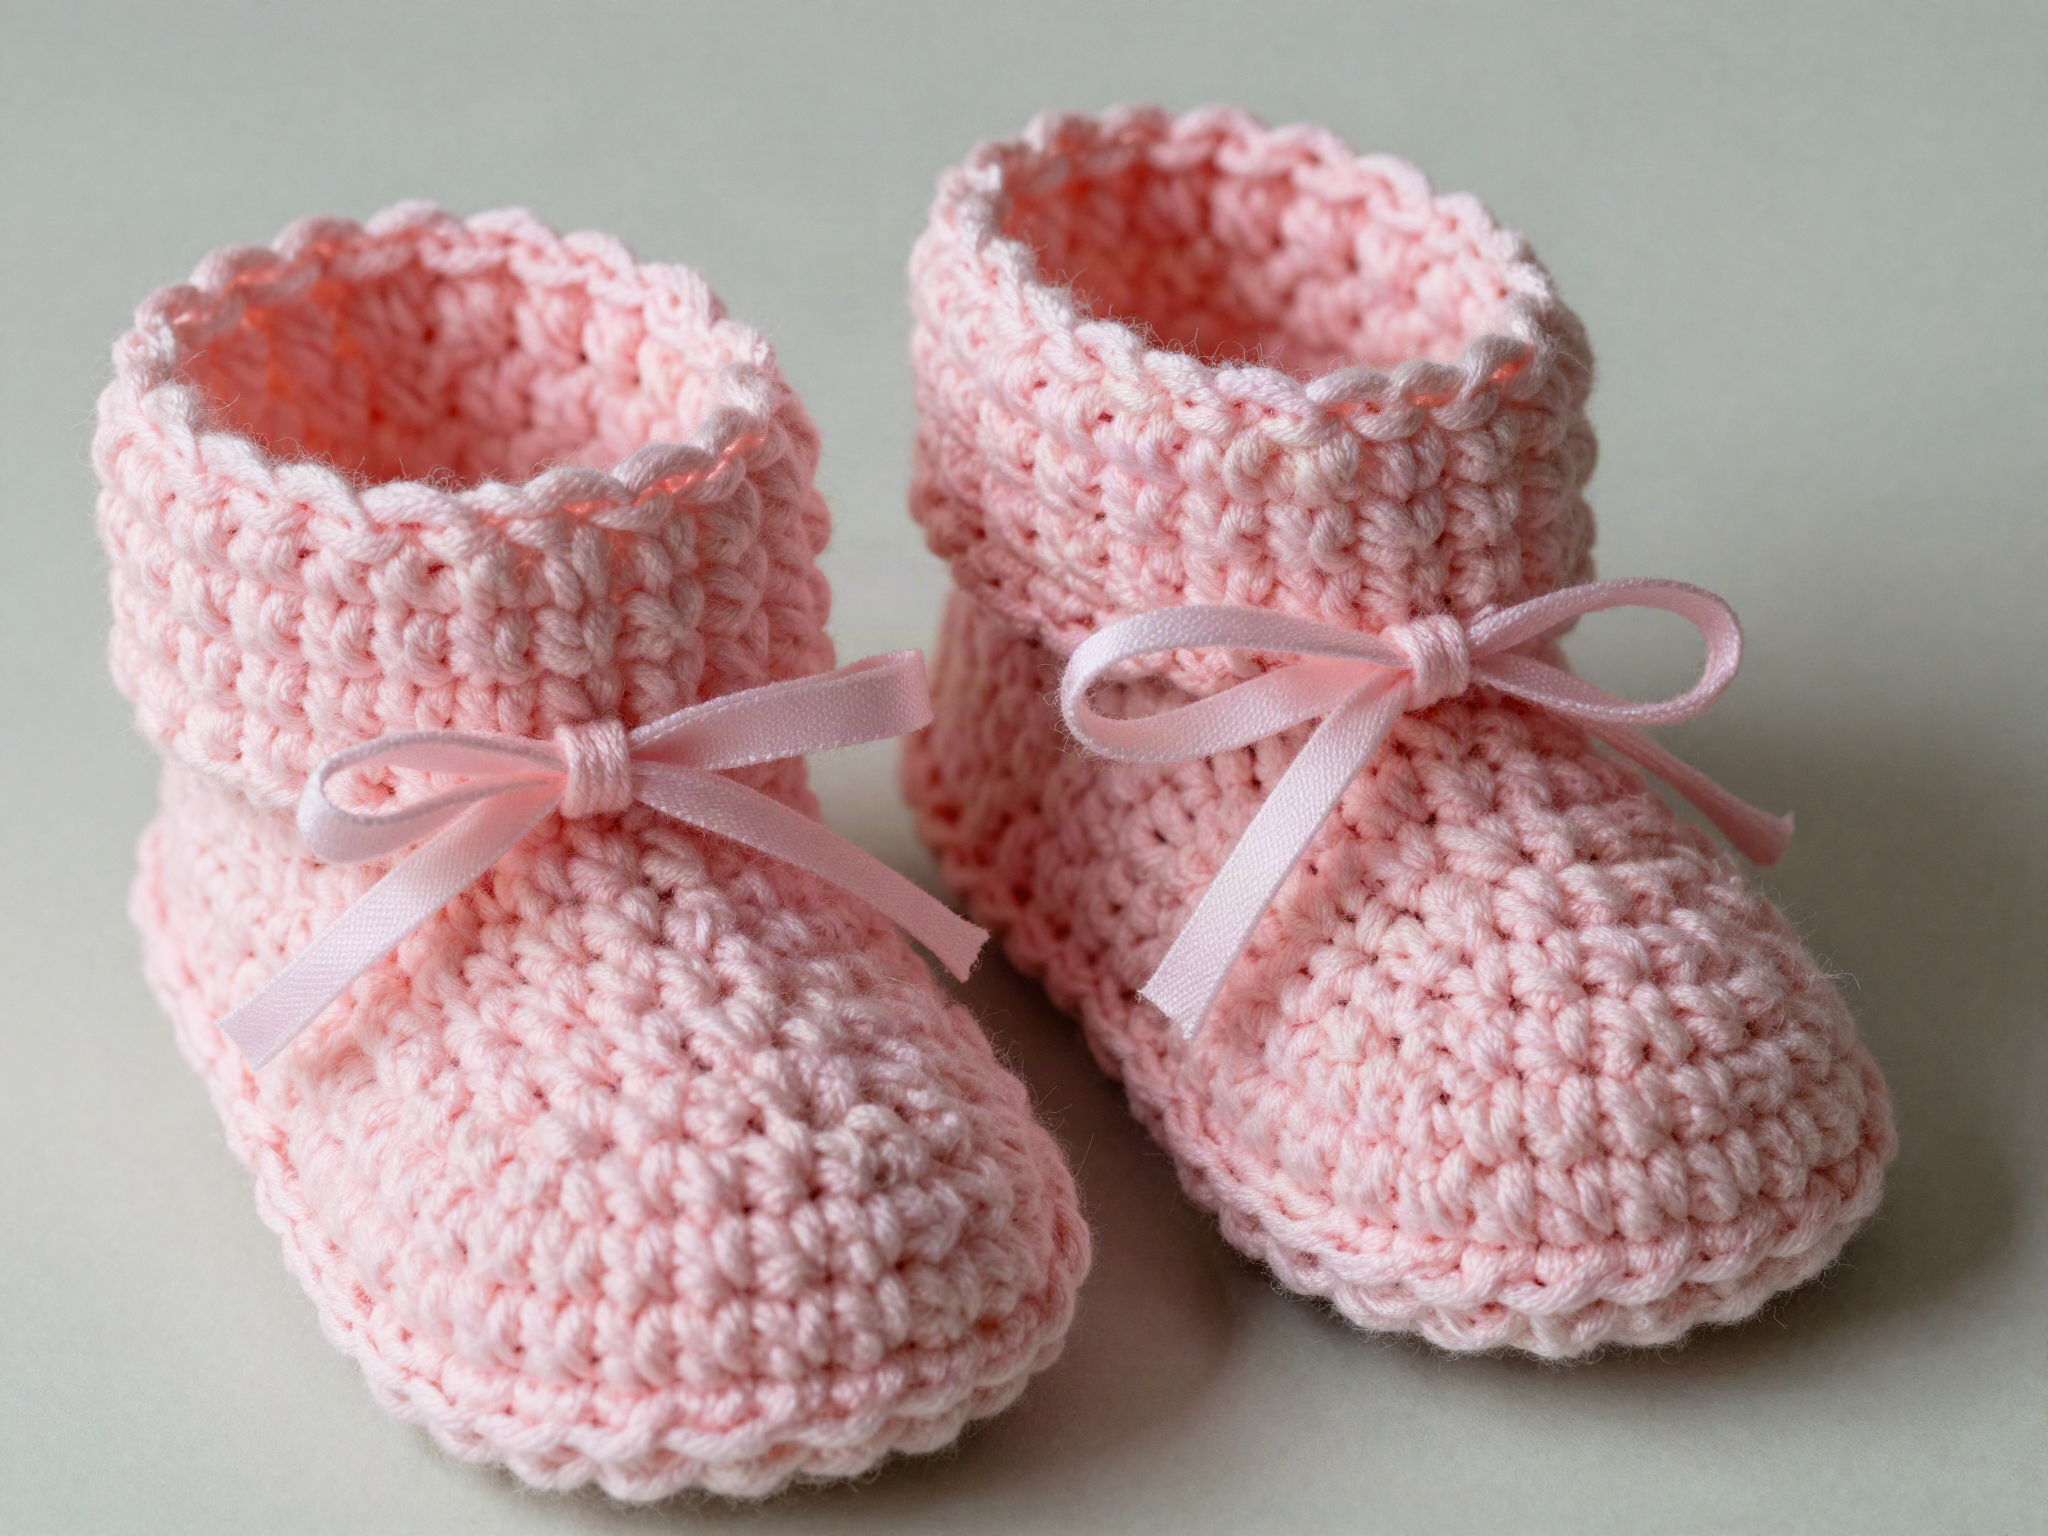
Finish each bootie with a ribbed cuff and thread ribbon through for a secure, adjustable tie.
Tip: Always use yarn labeled machine washable and non-toxic for baby items — check the label before buying.
Helpful Tips
- Newborn sizing changes fast — this pattern also includes a note for a 3–6 month size by adding one extra round.
- Avoid loose buttons or beads on anything for babies under 3; use ribbon ties or snaps instead.
Related Projects
 Free
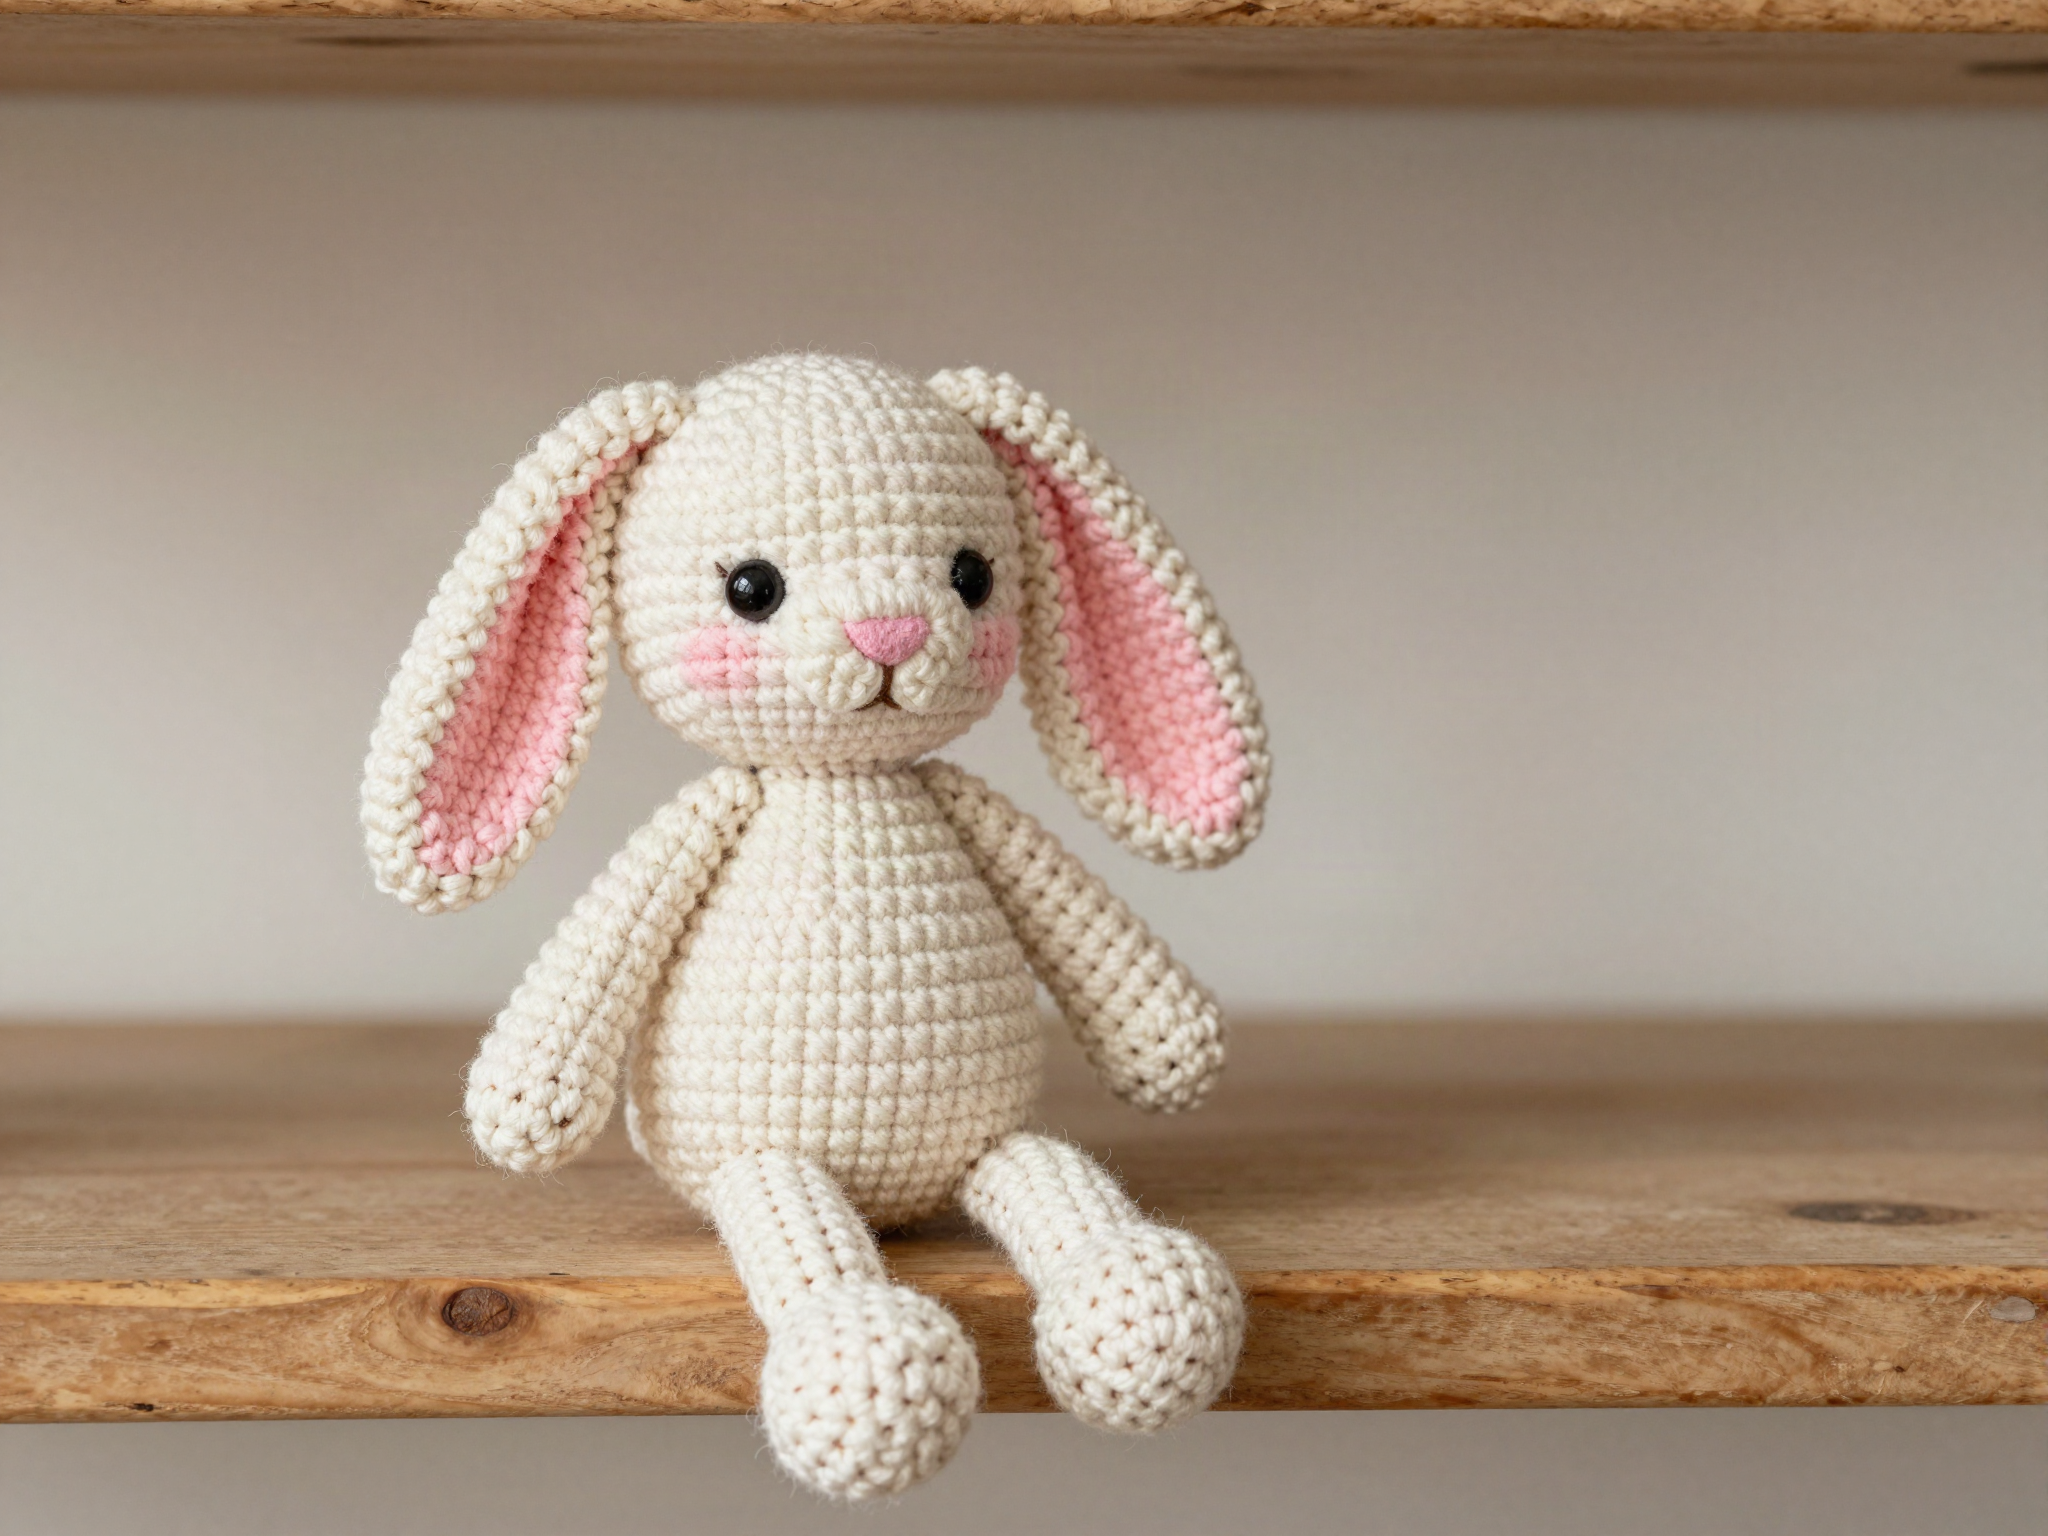
FreeAmigurumi Bunny
A soft, huggable amigurumi bunny worked in continuous single crochet rounds.
 Free
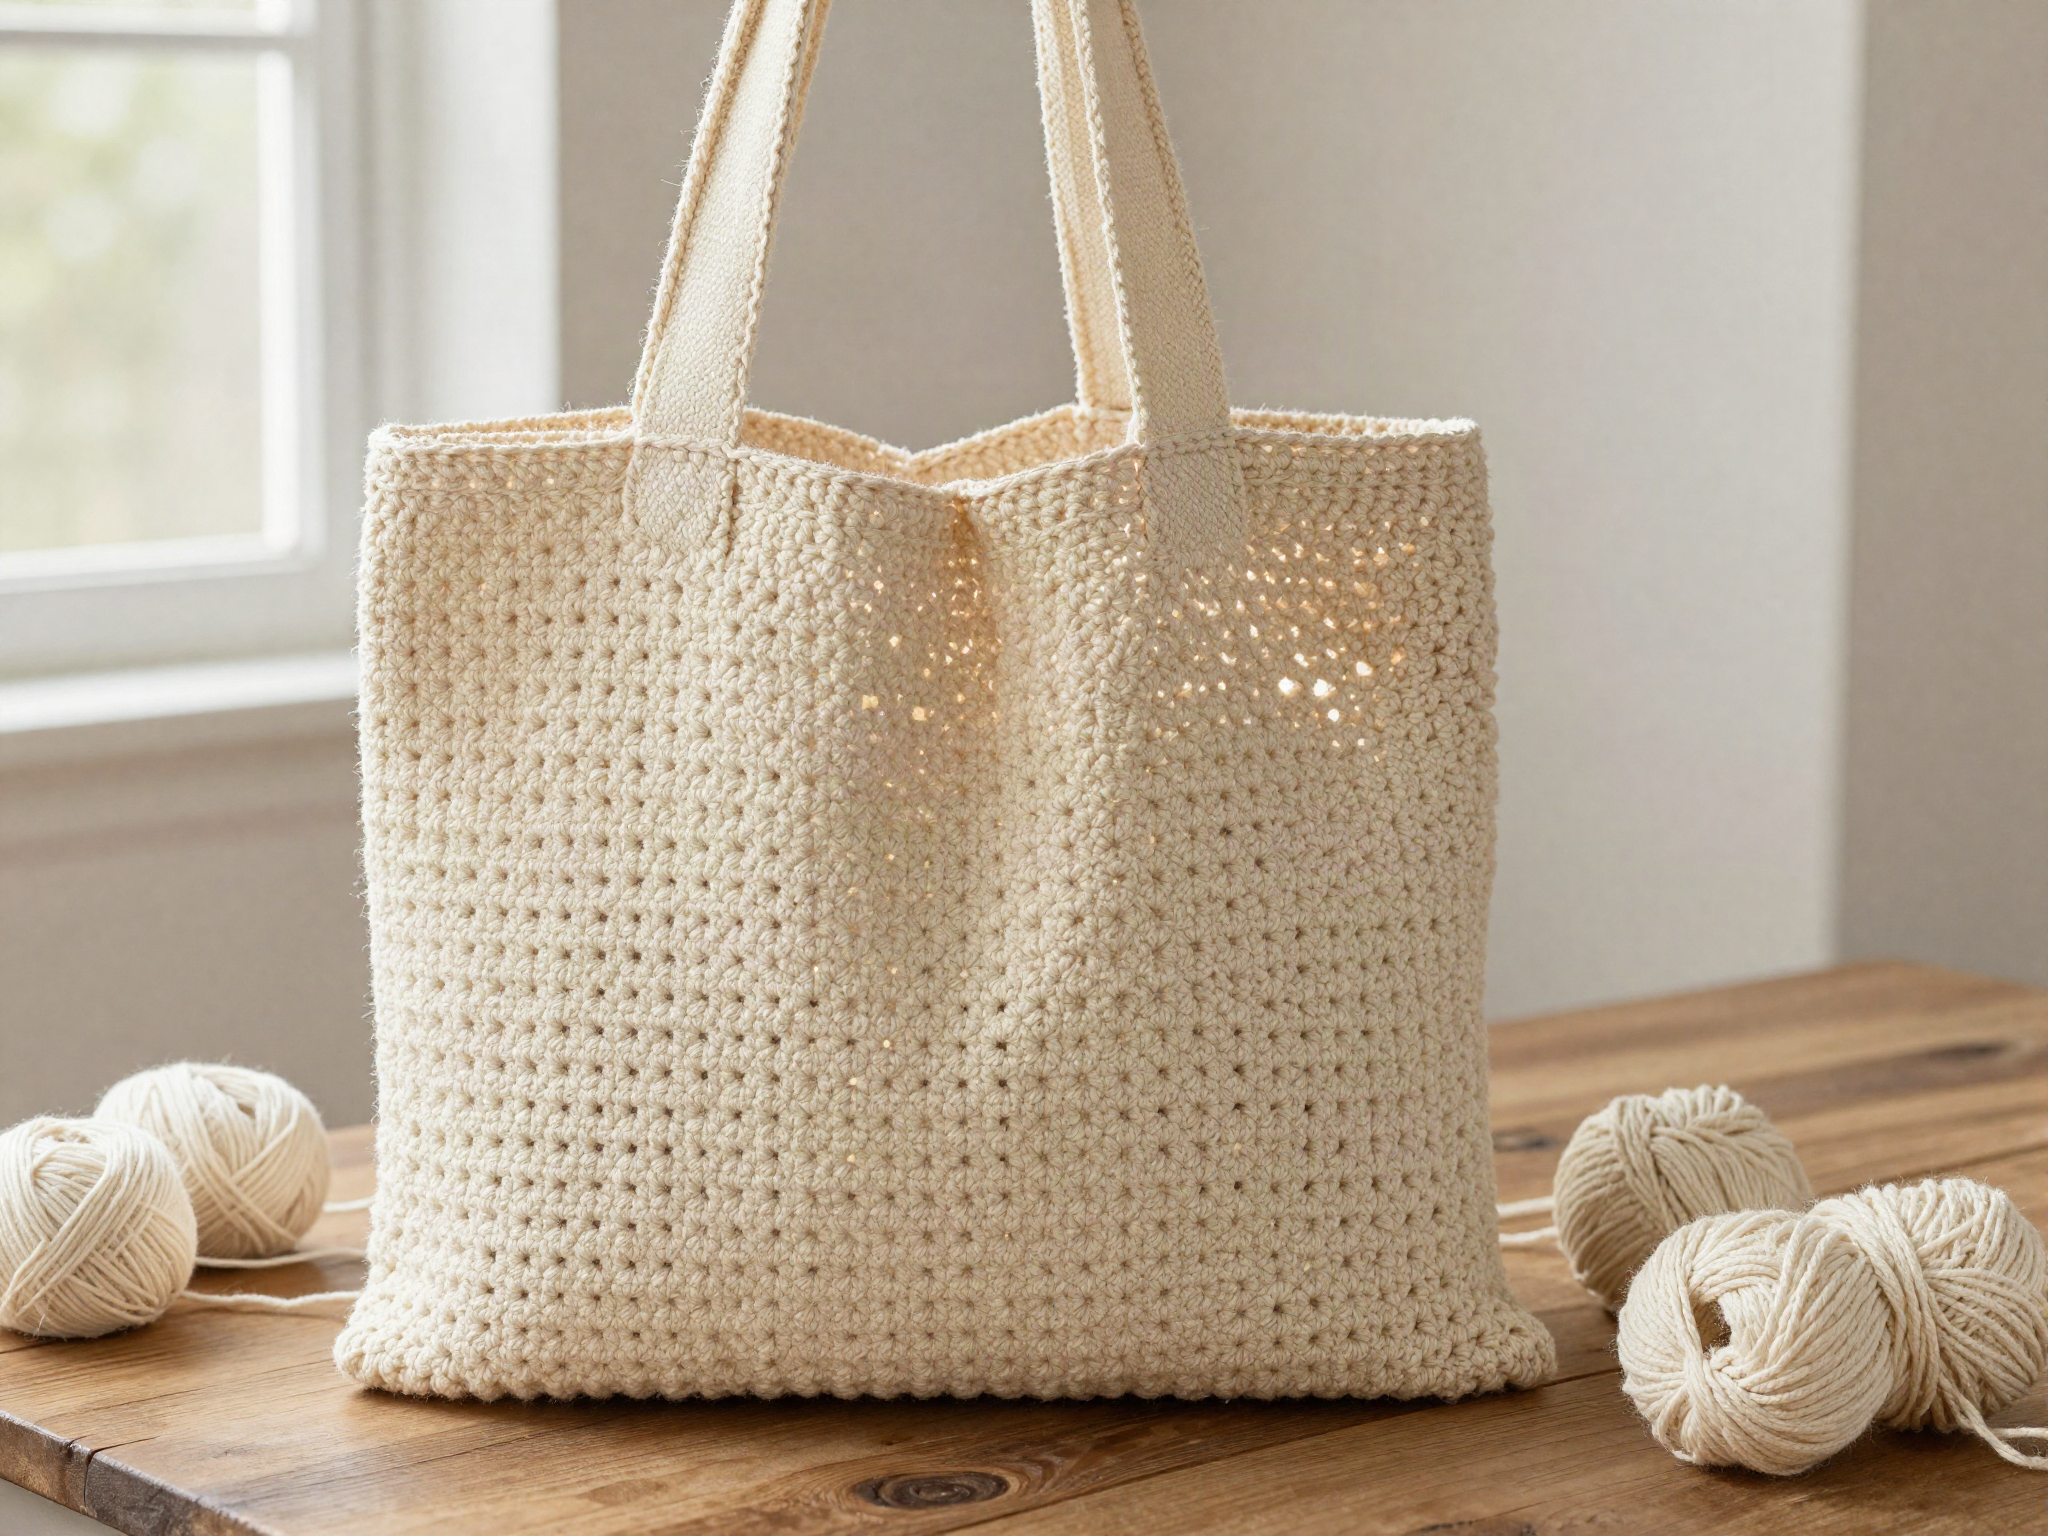
FreeEveryday Market Tote Bag
A sturdy, roomy tote worked in single crochet with cotton yarn — a perfect first bag project.
 Free
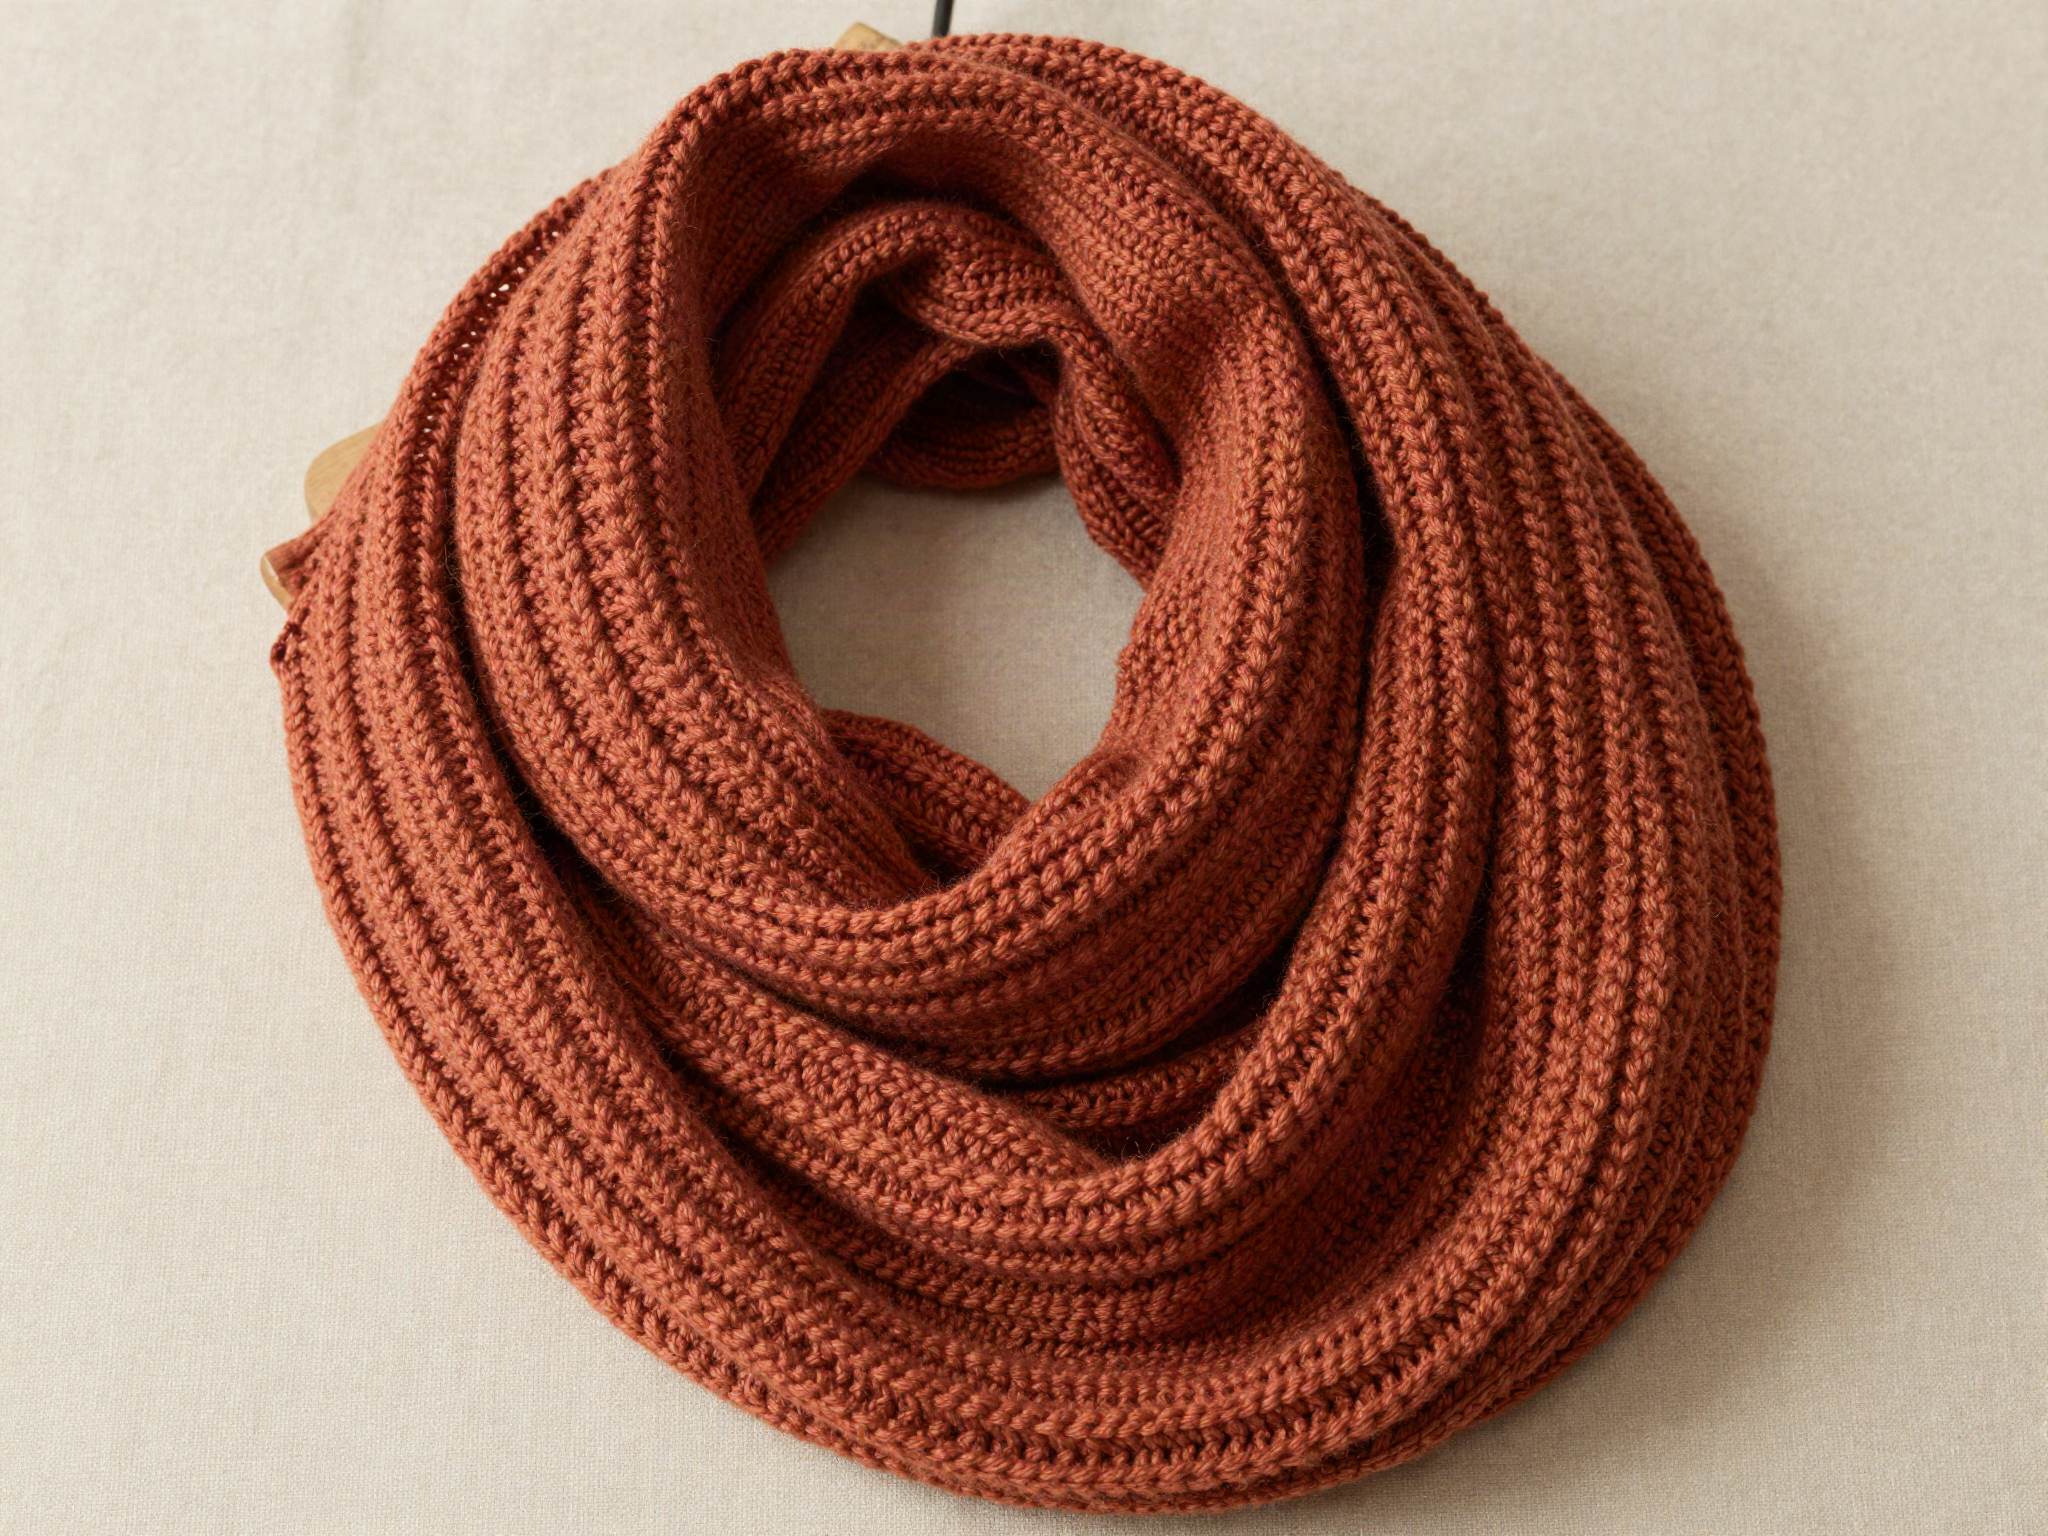
FreeCozy Infinity Scarf
A no-fuss, one-skein infinity scarf worked in a simple textured stitch.