Amigurumi Pumpkin Trio
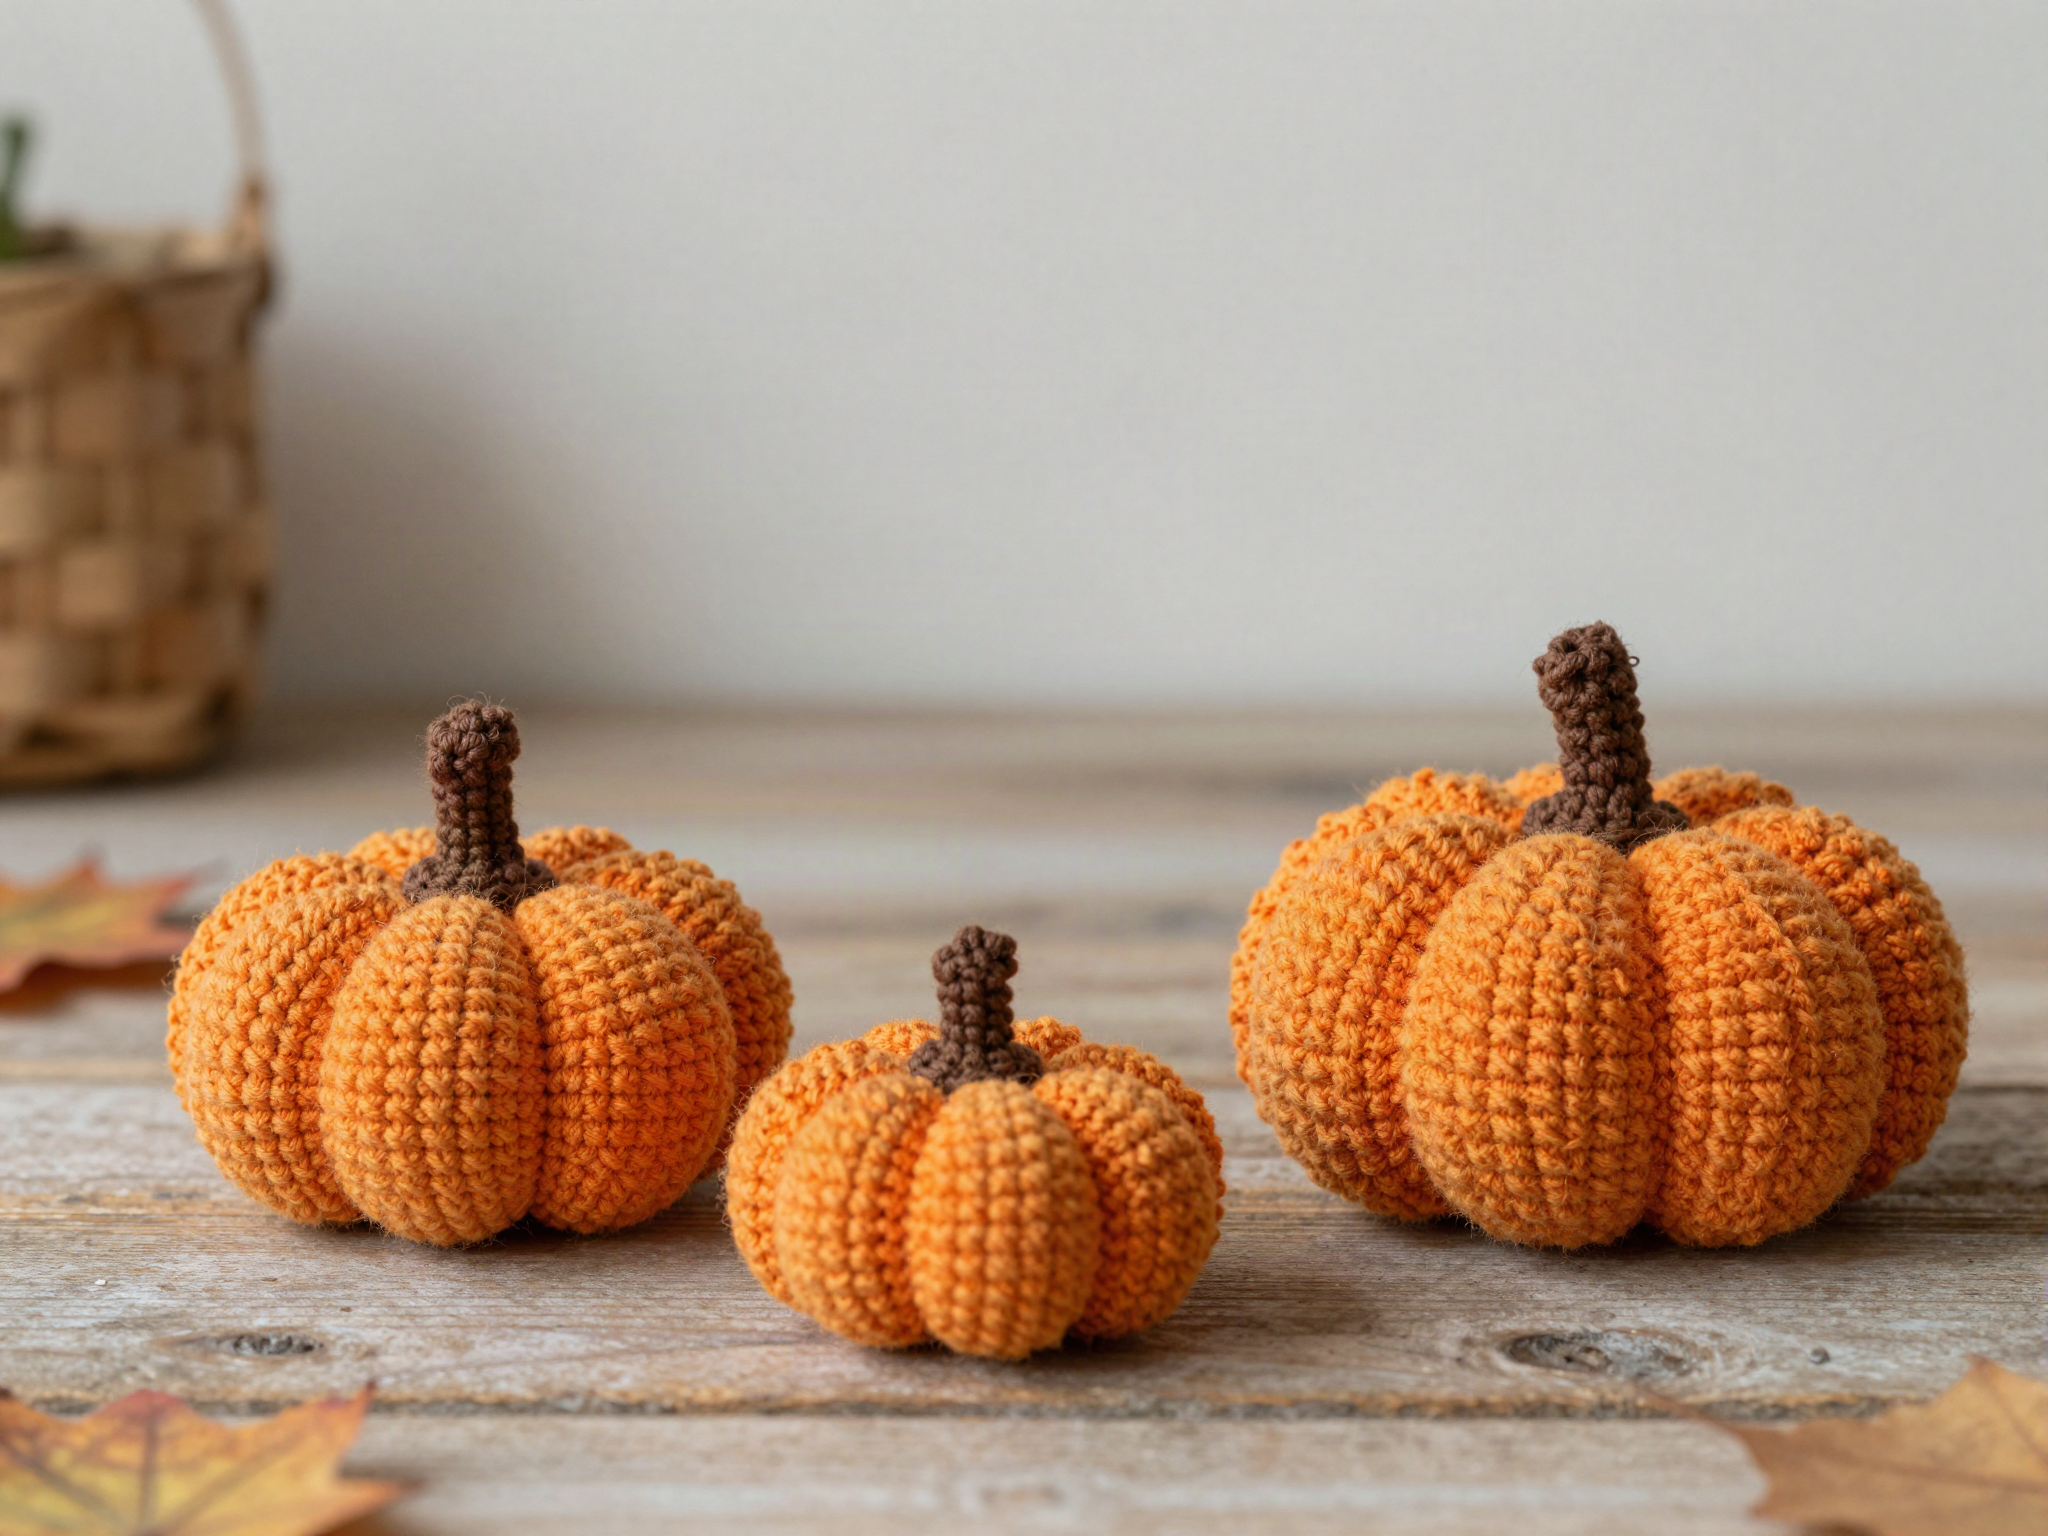
A quick seasonal decor project — each pumpkin is a ribbed sphere with an embroidered stem, and the three sizes look great stacked, scattered on a mantel, or given as small gifts.
Materials & Yarn
- 100 yds worsted yarn (orange, per pumpkin)
- Small amount brown or green yarn (stems)
- 4mm crochet hook
- Polyester fiberfill
- Tapestry needle
Step-by-Step Instructions
- 1
Crochet the pumpkin body
Work a flattened sphere in single crochet, increasing to the widest point then decreasing symmetrically.
- 2
Add ribbing lines
Using a length of yarn and a tapestry needle, stitch vertical lines from top to bottom to create the classic pumpkin ridges, pulling gently to indent the fabric.
Tip: Stuff the pumpkin fully before adding ribbing lines — it is much easier to indent firm stuffing evenly.
- 3
Crochet the stem
Work a small tapering tube in brown or green yarn, stuff lightly, and fold slightly for a natural bend.
- 4
Assemble
Sew the stem to the top center of the pumpkin, optionally adding a small crocheted leaf or curly tendril.
Helpful Tips
- Repeat at 3 different stitch counts to make the graduated trio shown in the photos.
- Swap orange for cream, white or deep red yarn for a more modern "heirloom pumpkin" look.
Related Projects
 Premium
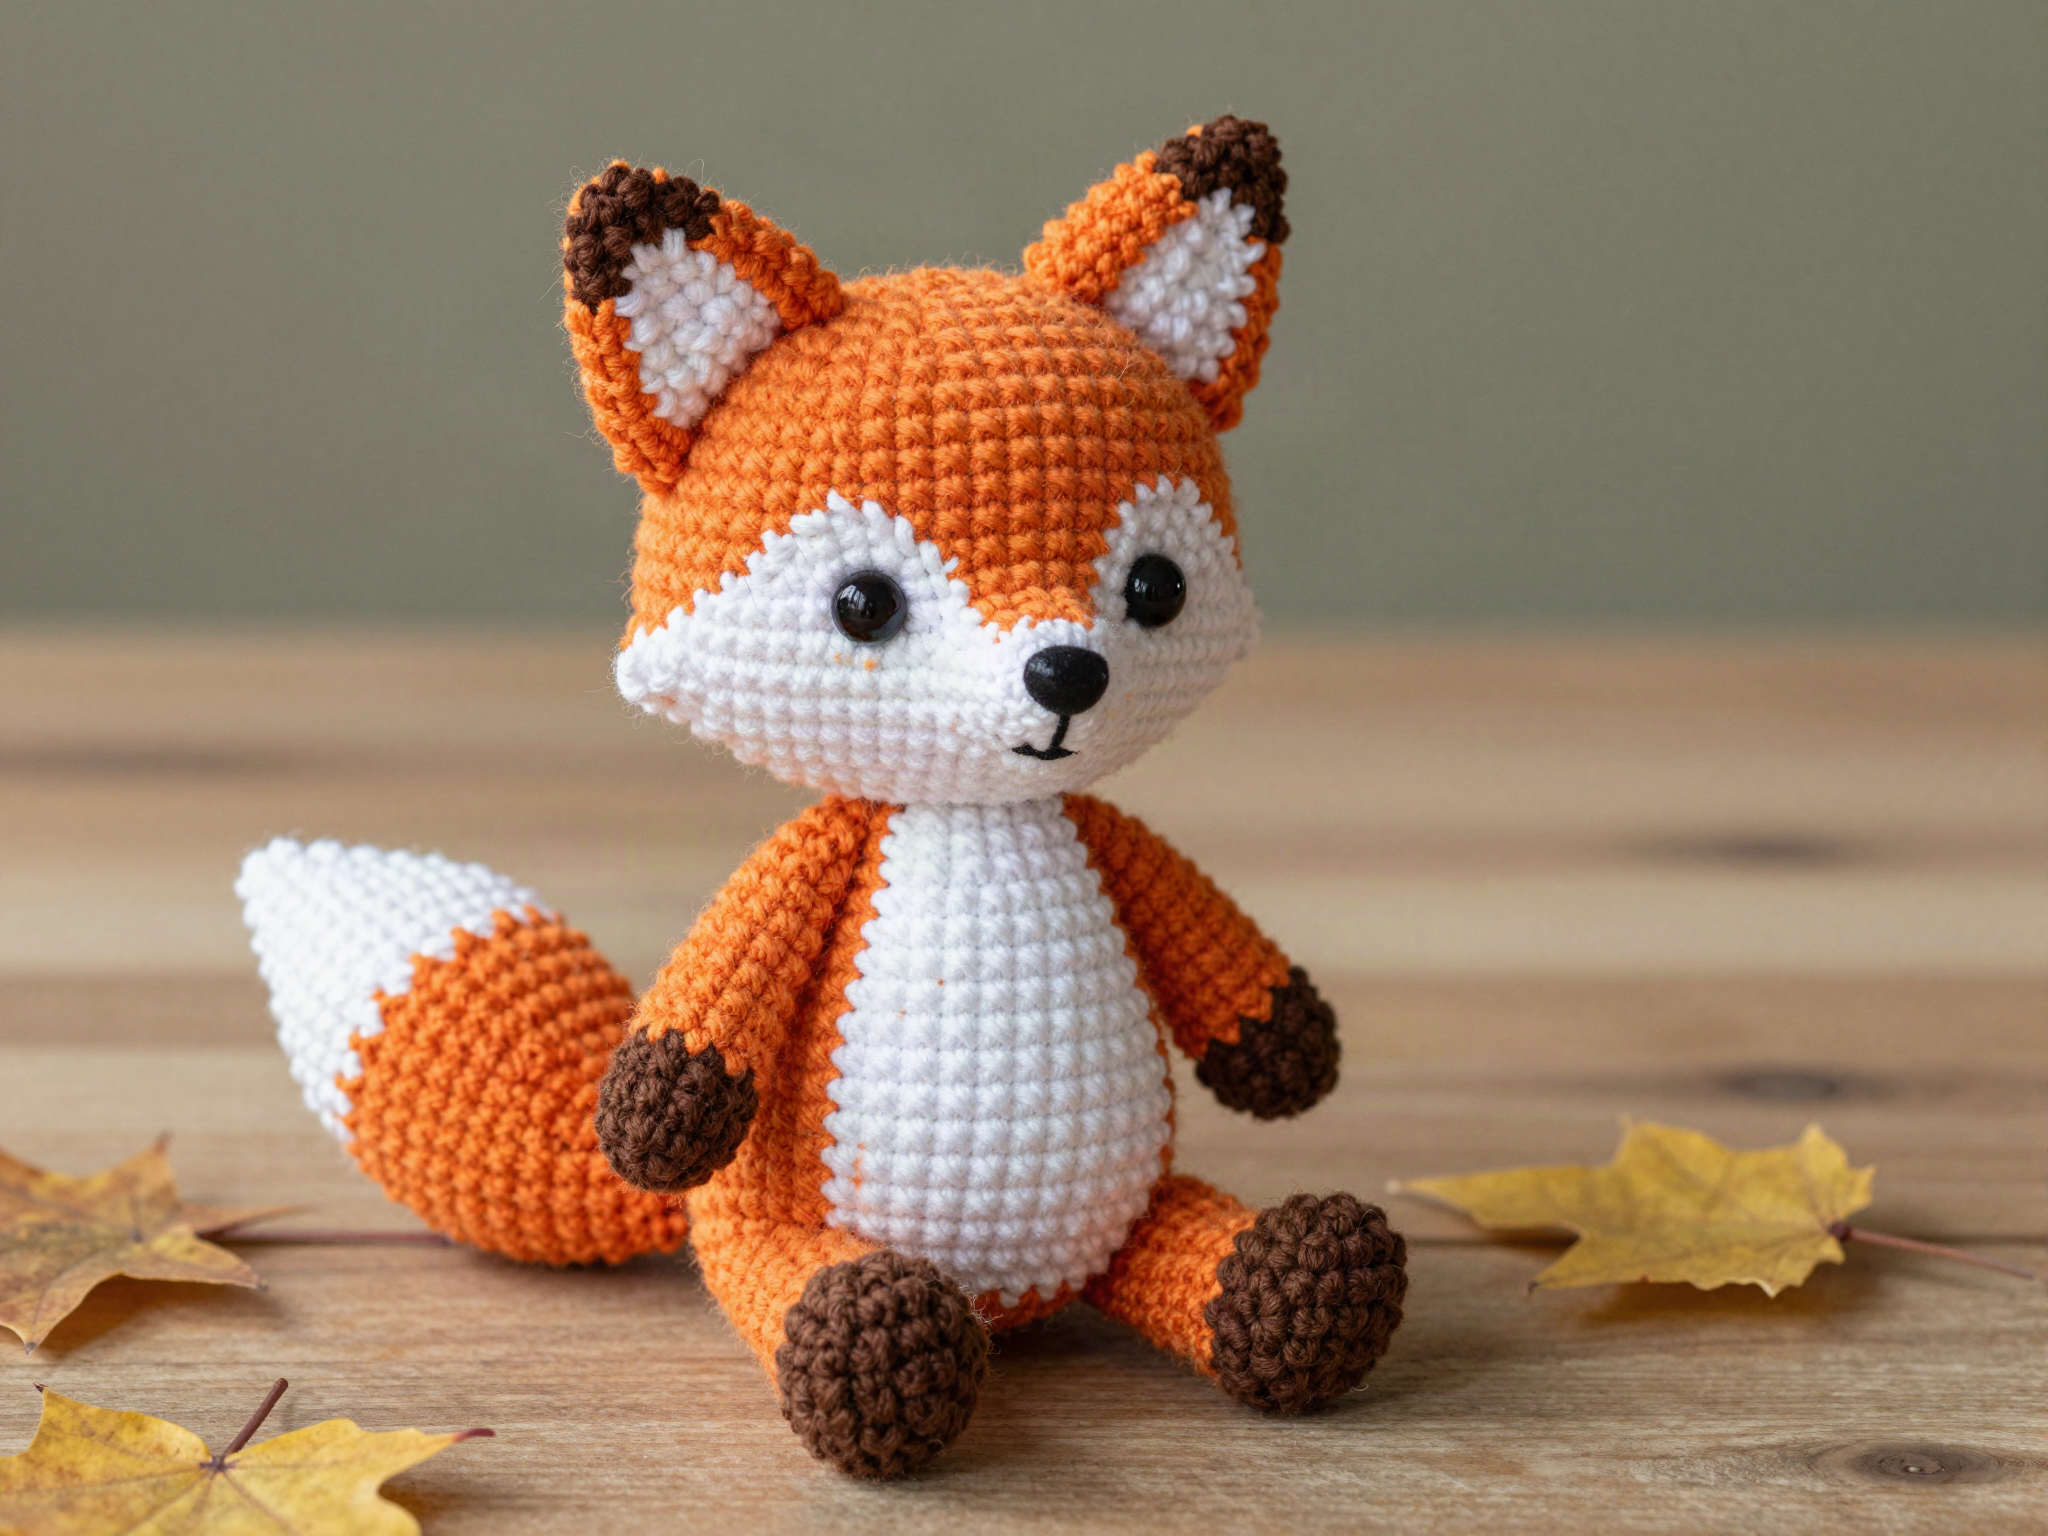
Amigurumi Fox
A perky amigurumi fox with two-tone shaping and a fluffy tail.
 Premium
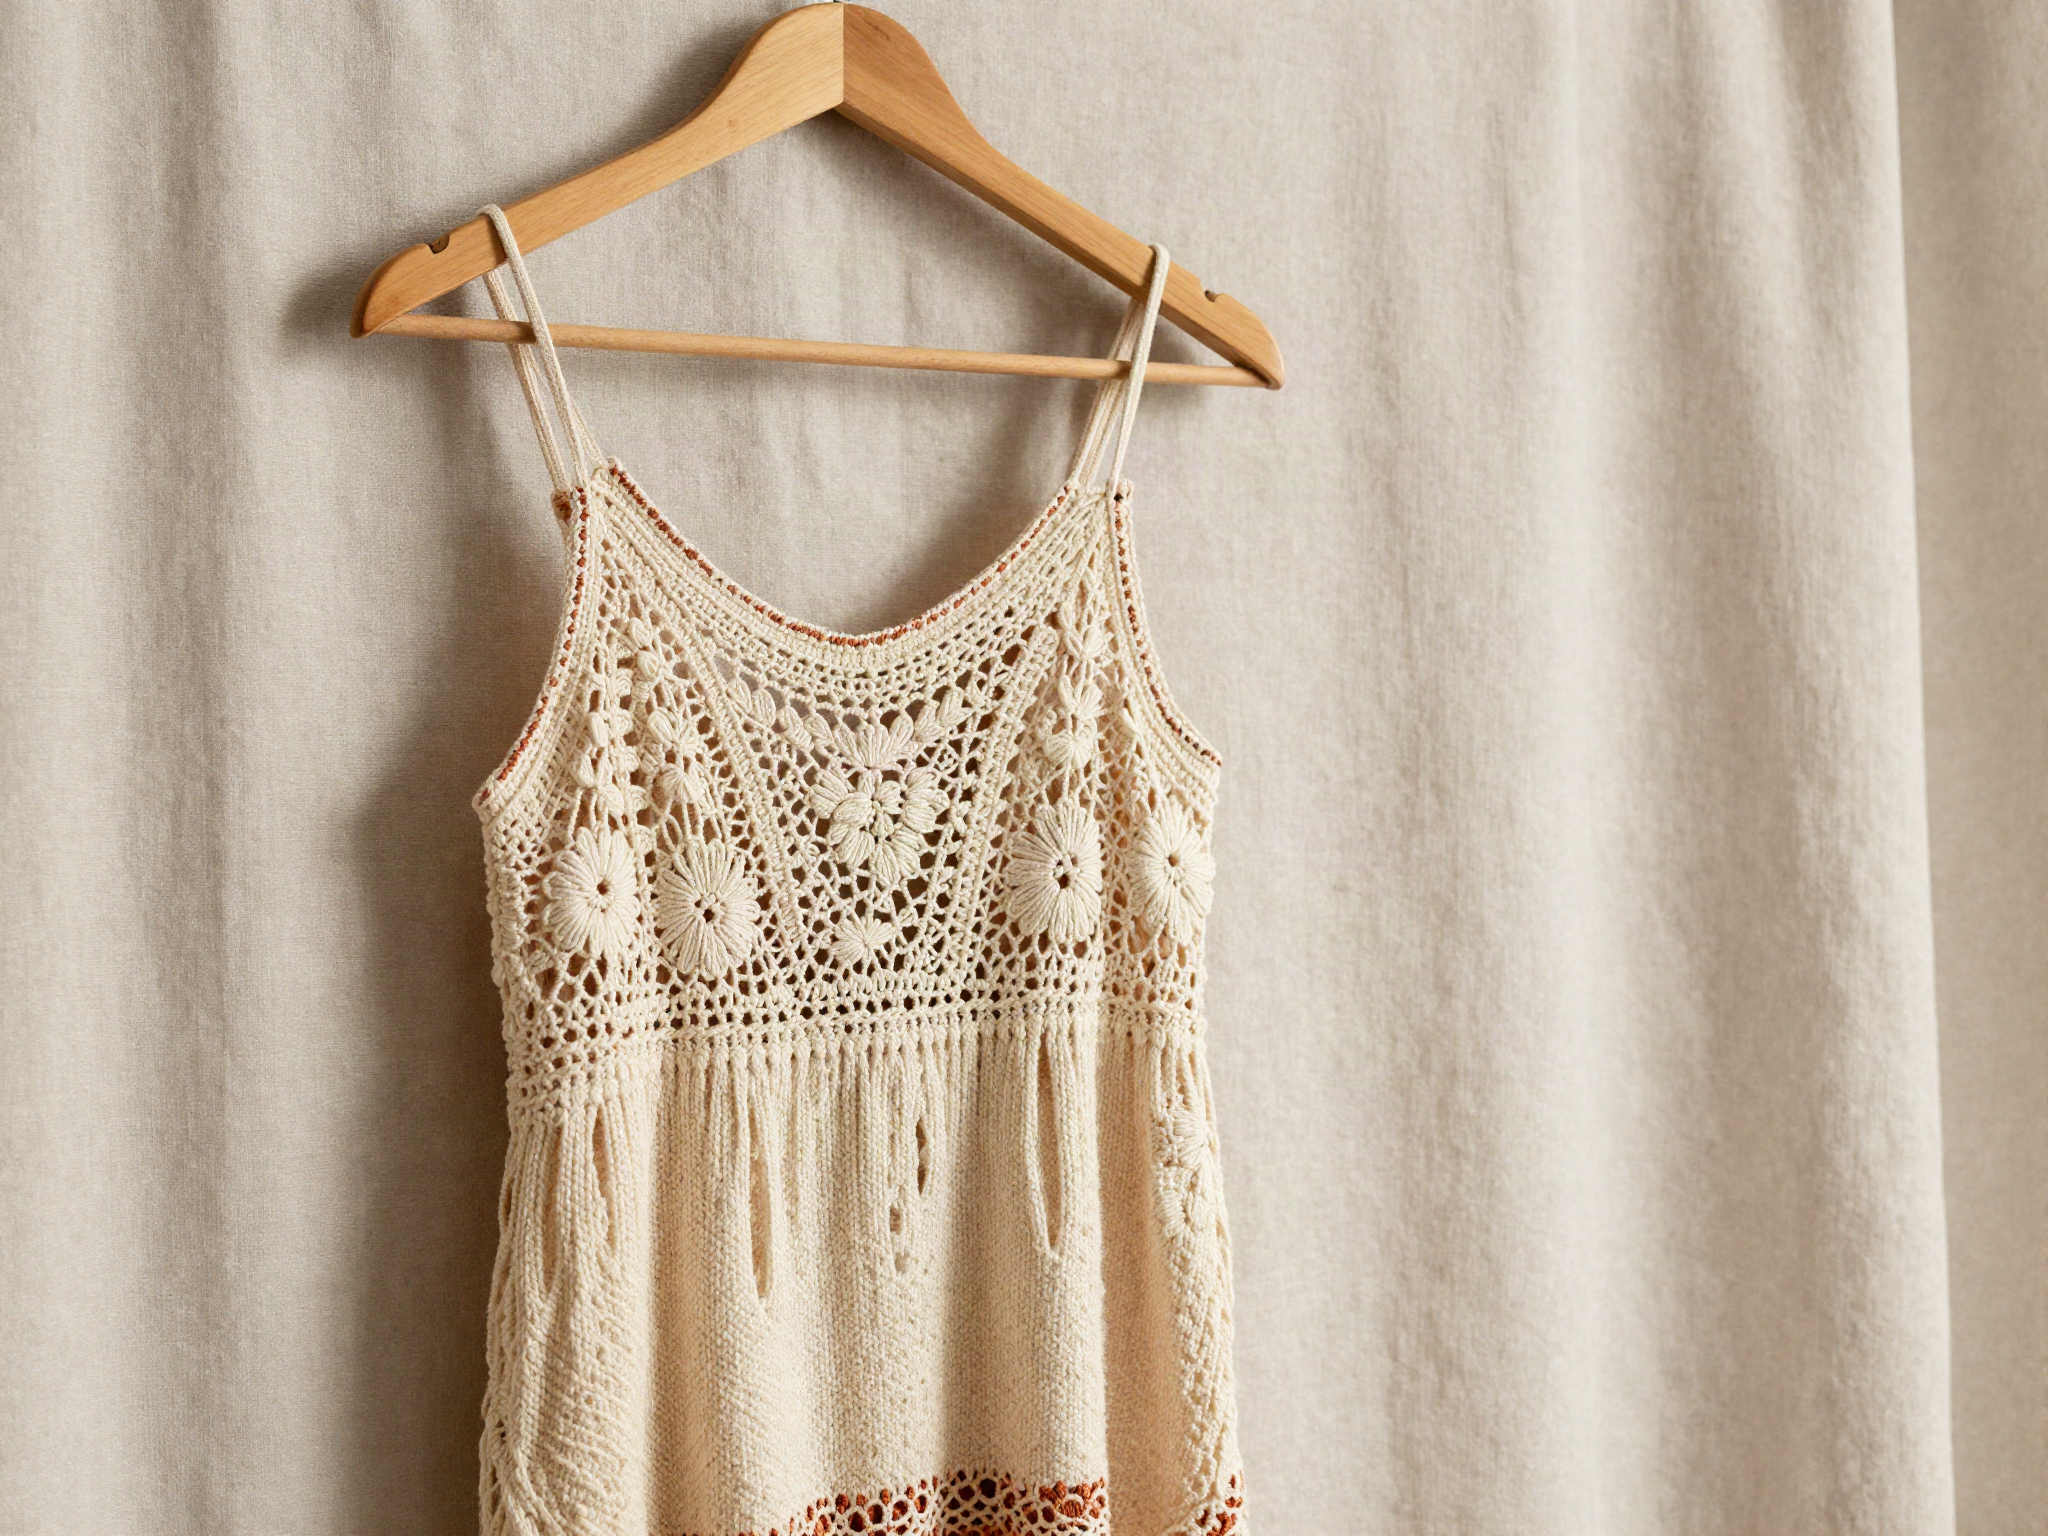
Boho Crochet Sundress
A breezy, lined sundress worked top-down in an easy shell-stitch pattern — perfect for summer.
 Free
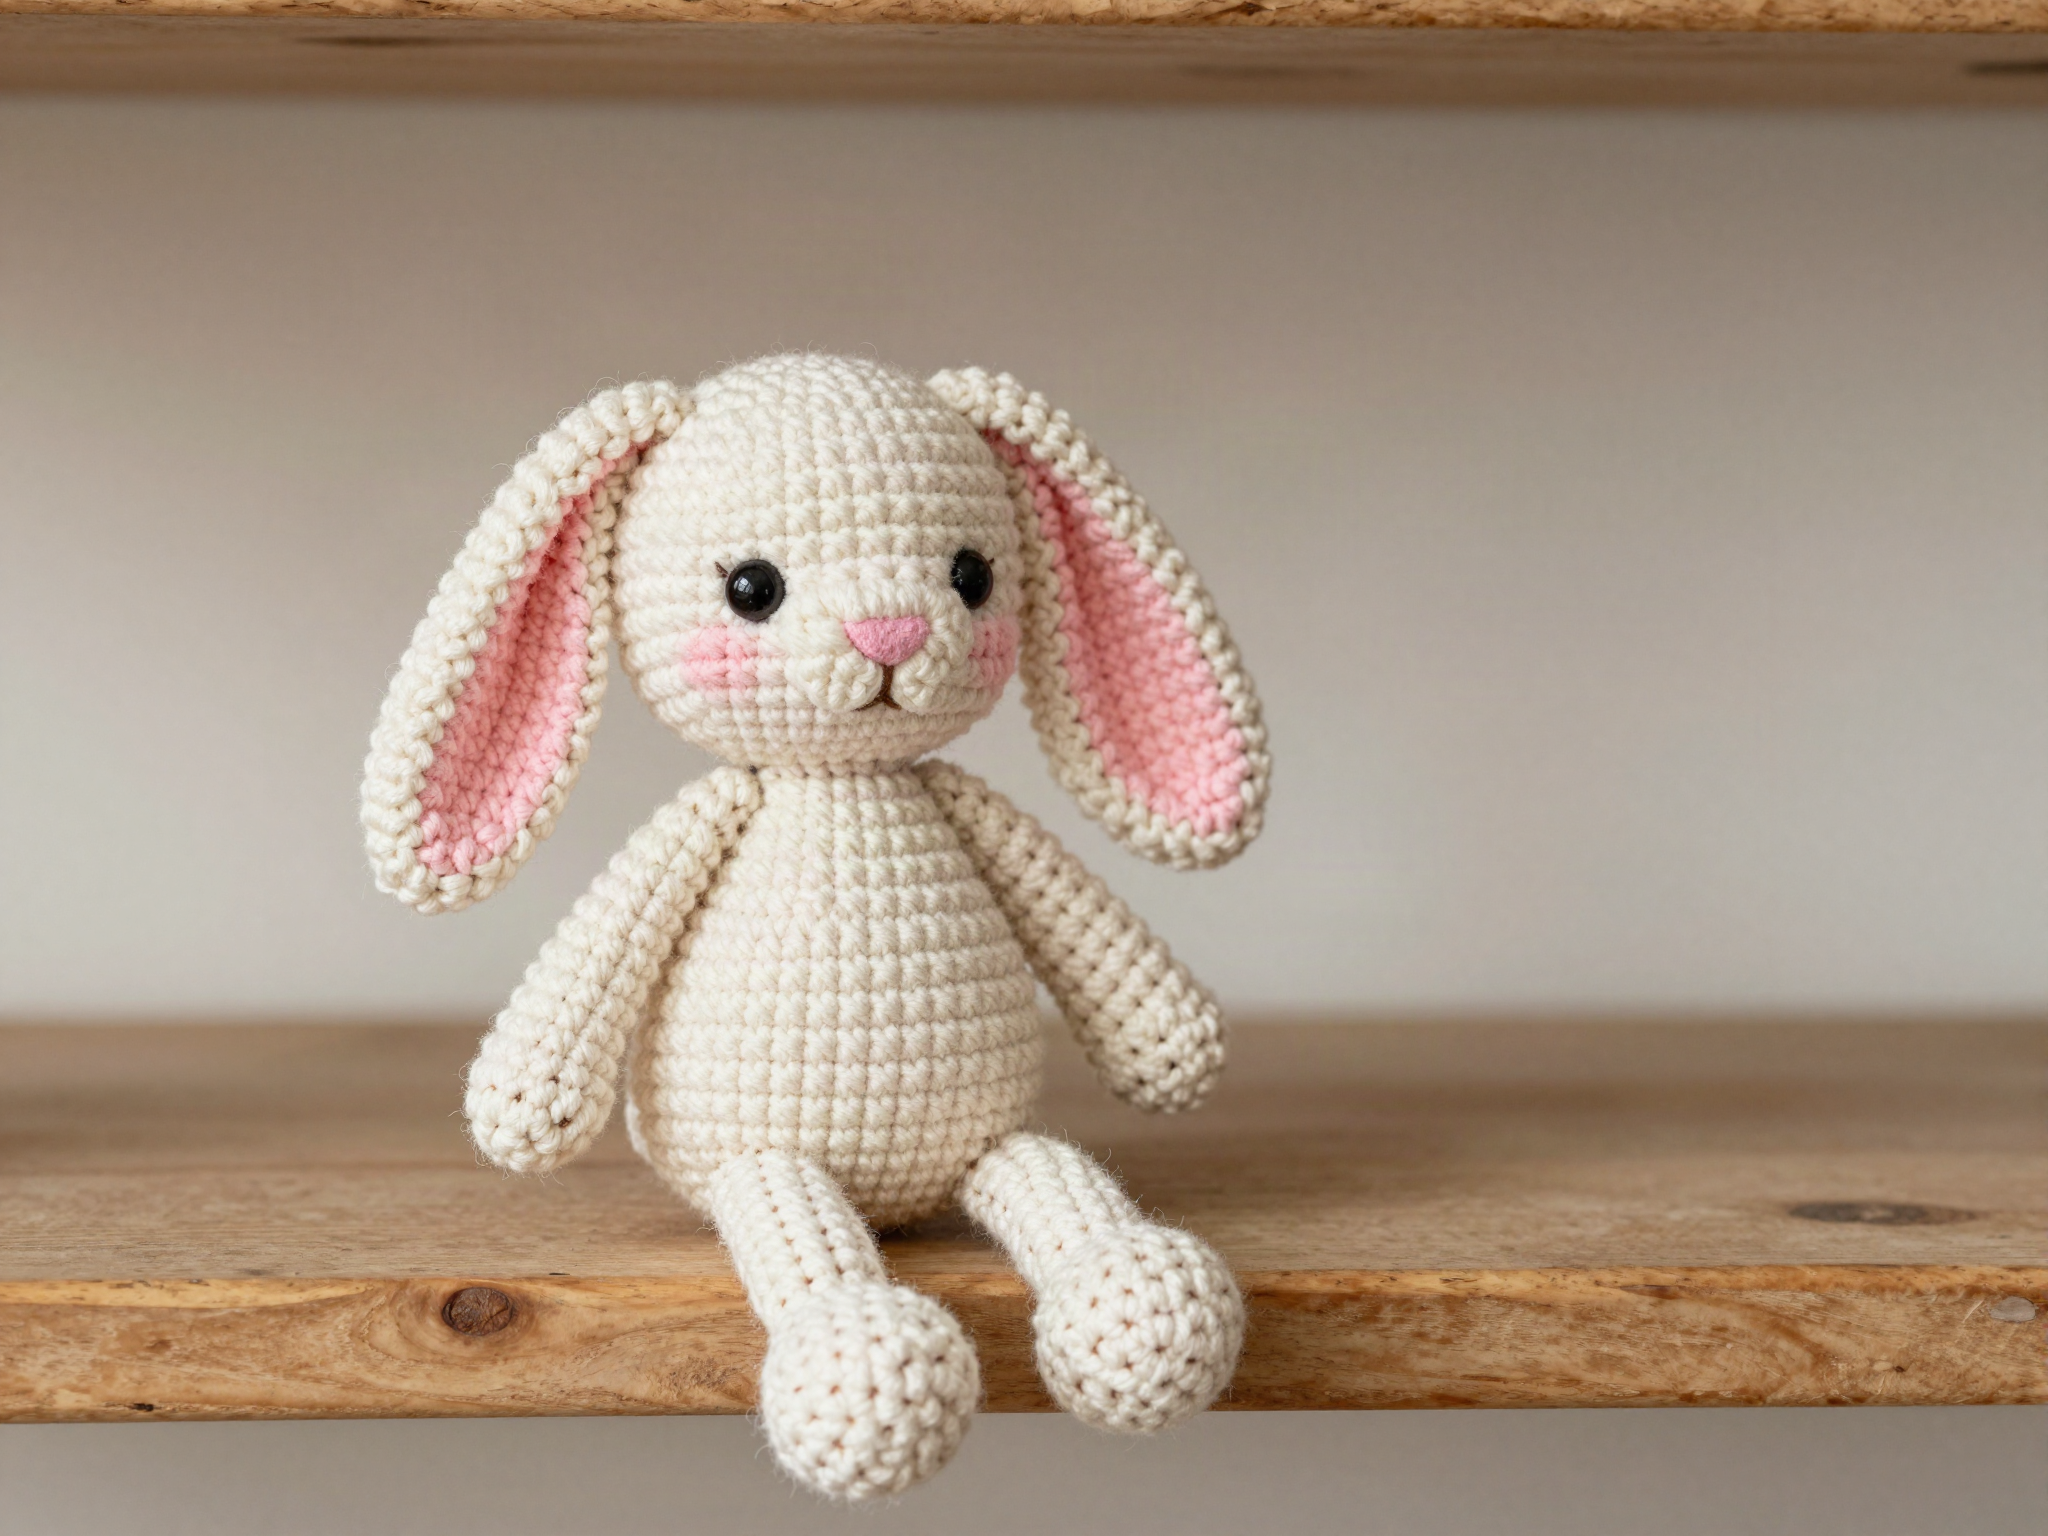
FreeAmigurumi Bunny
A soft, huggable amigurumi bunny worked in continuous single crochet rounds.