Classic Granny Square Cardigan
This cardigan is the perfect bridge project between accessories and garments: you're still making simple granny squares, just a lot of them, then seaming them into sleeves and a body. The drape is relaxed and oversized, so gauge doesn't need to be exact.
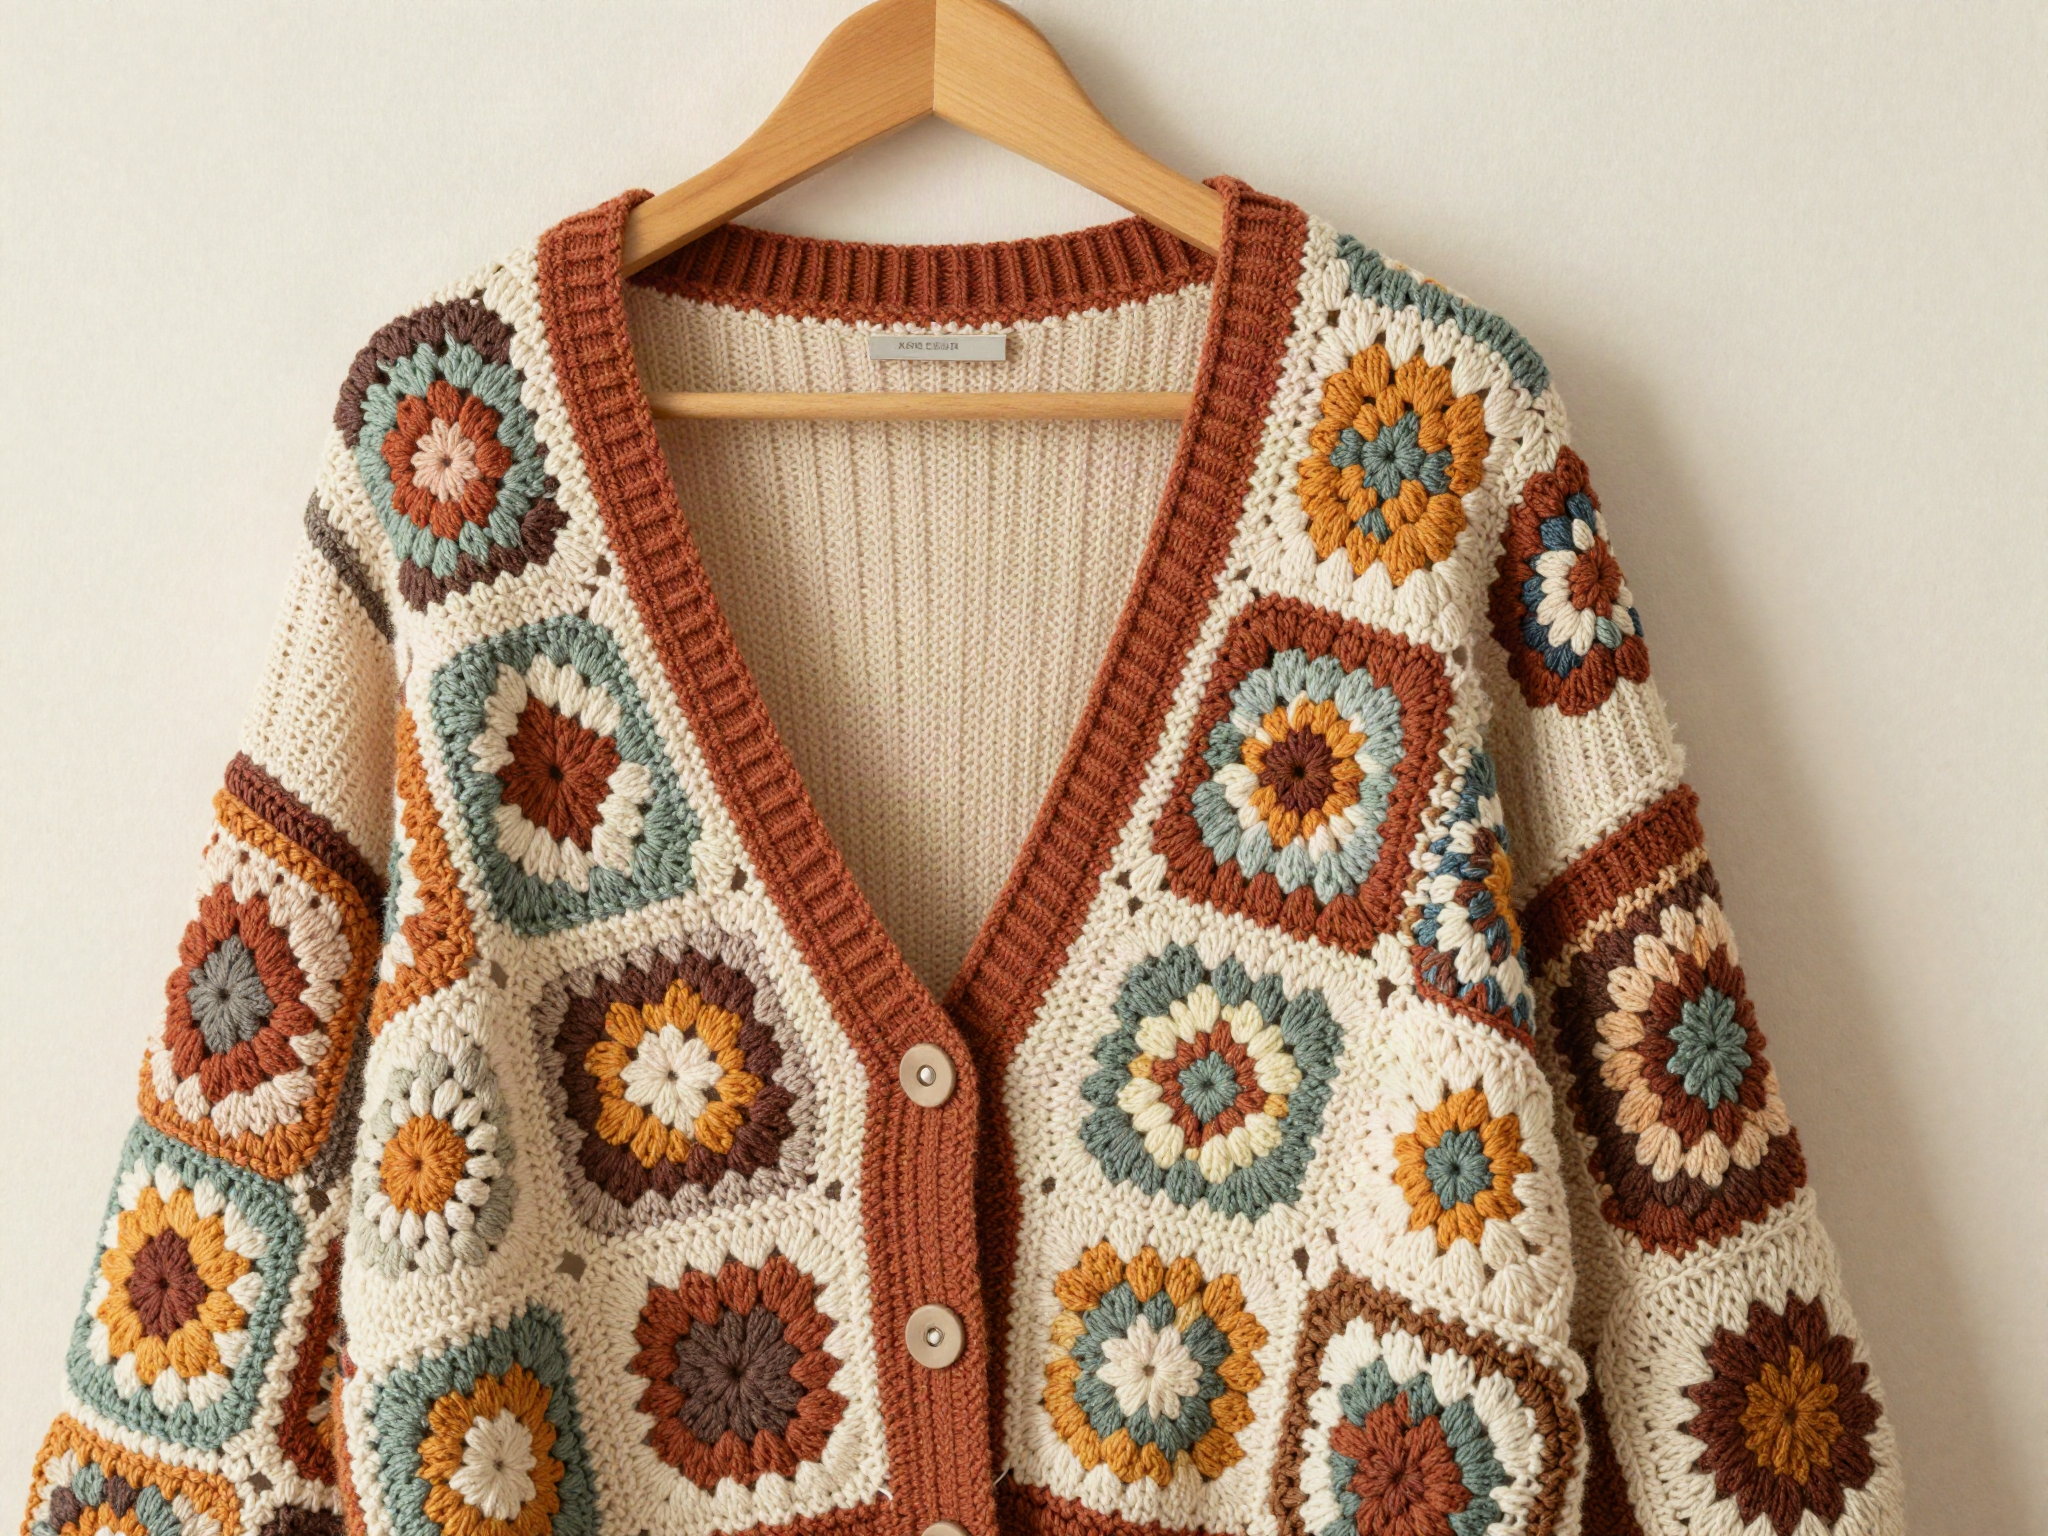
Materials & Yarn
- 1200–1600 yds worsted weight yarn (main color)
- 200 yds worsted weight yarn (2 accent colors)
- 5.5mm crochet hook
- Tapestry needle
- Scissors
- Measuring tape
- 6 stitch markers
Step-by-Step Instructions
- 1
Make your granny squares
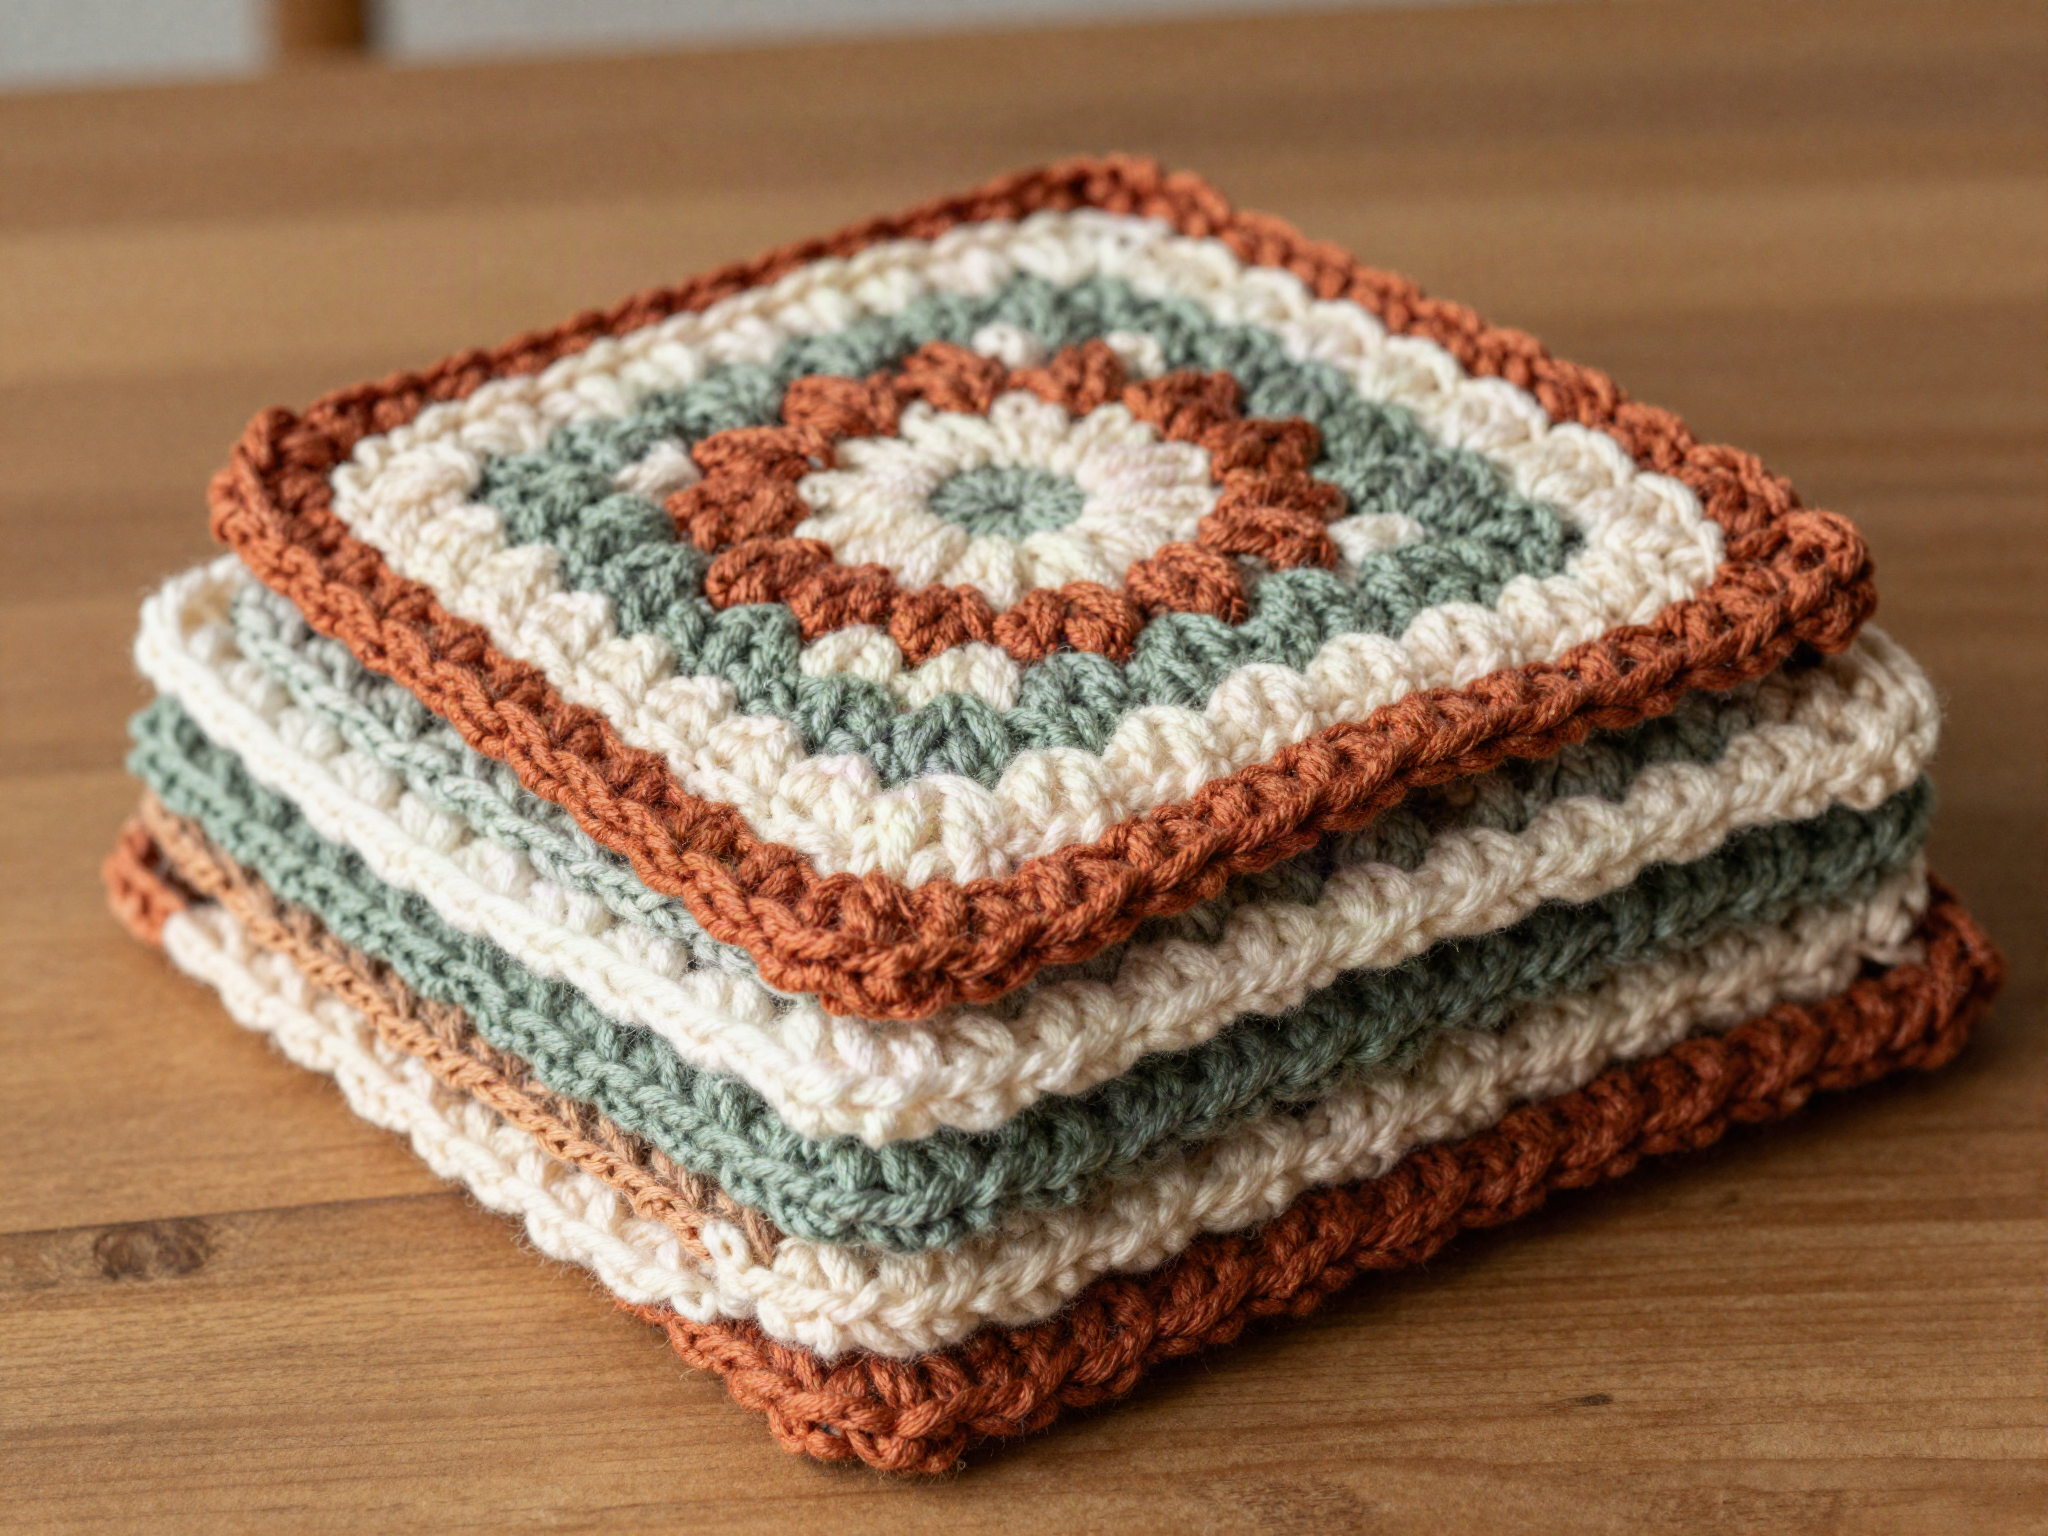
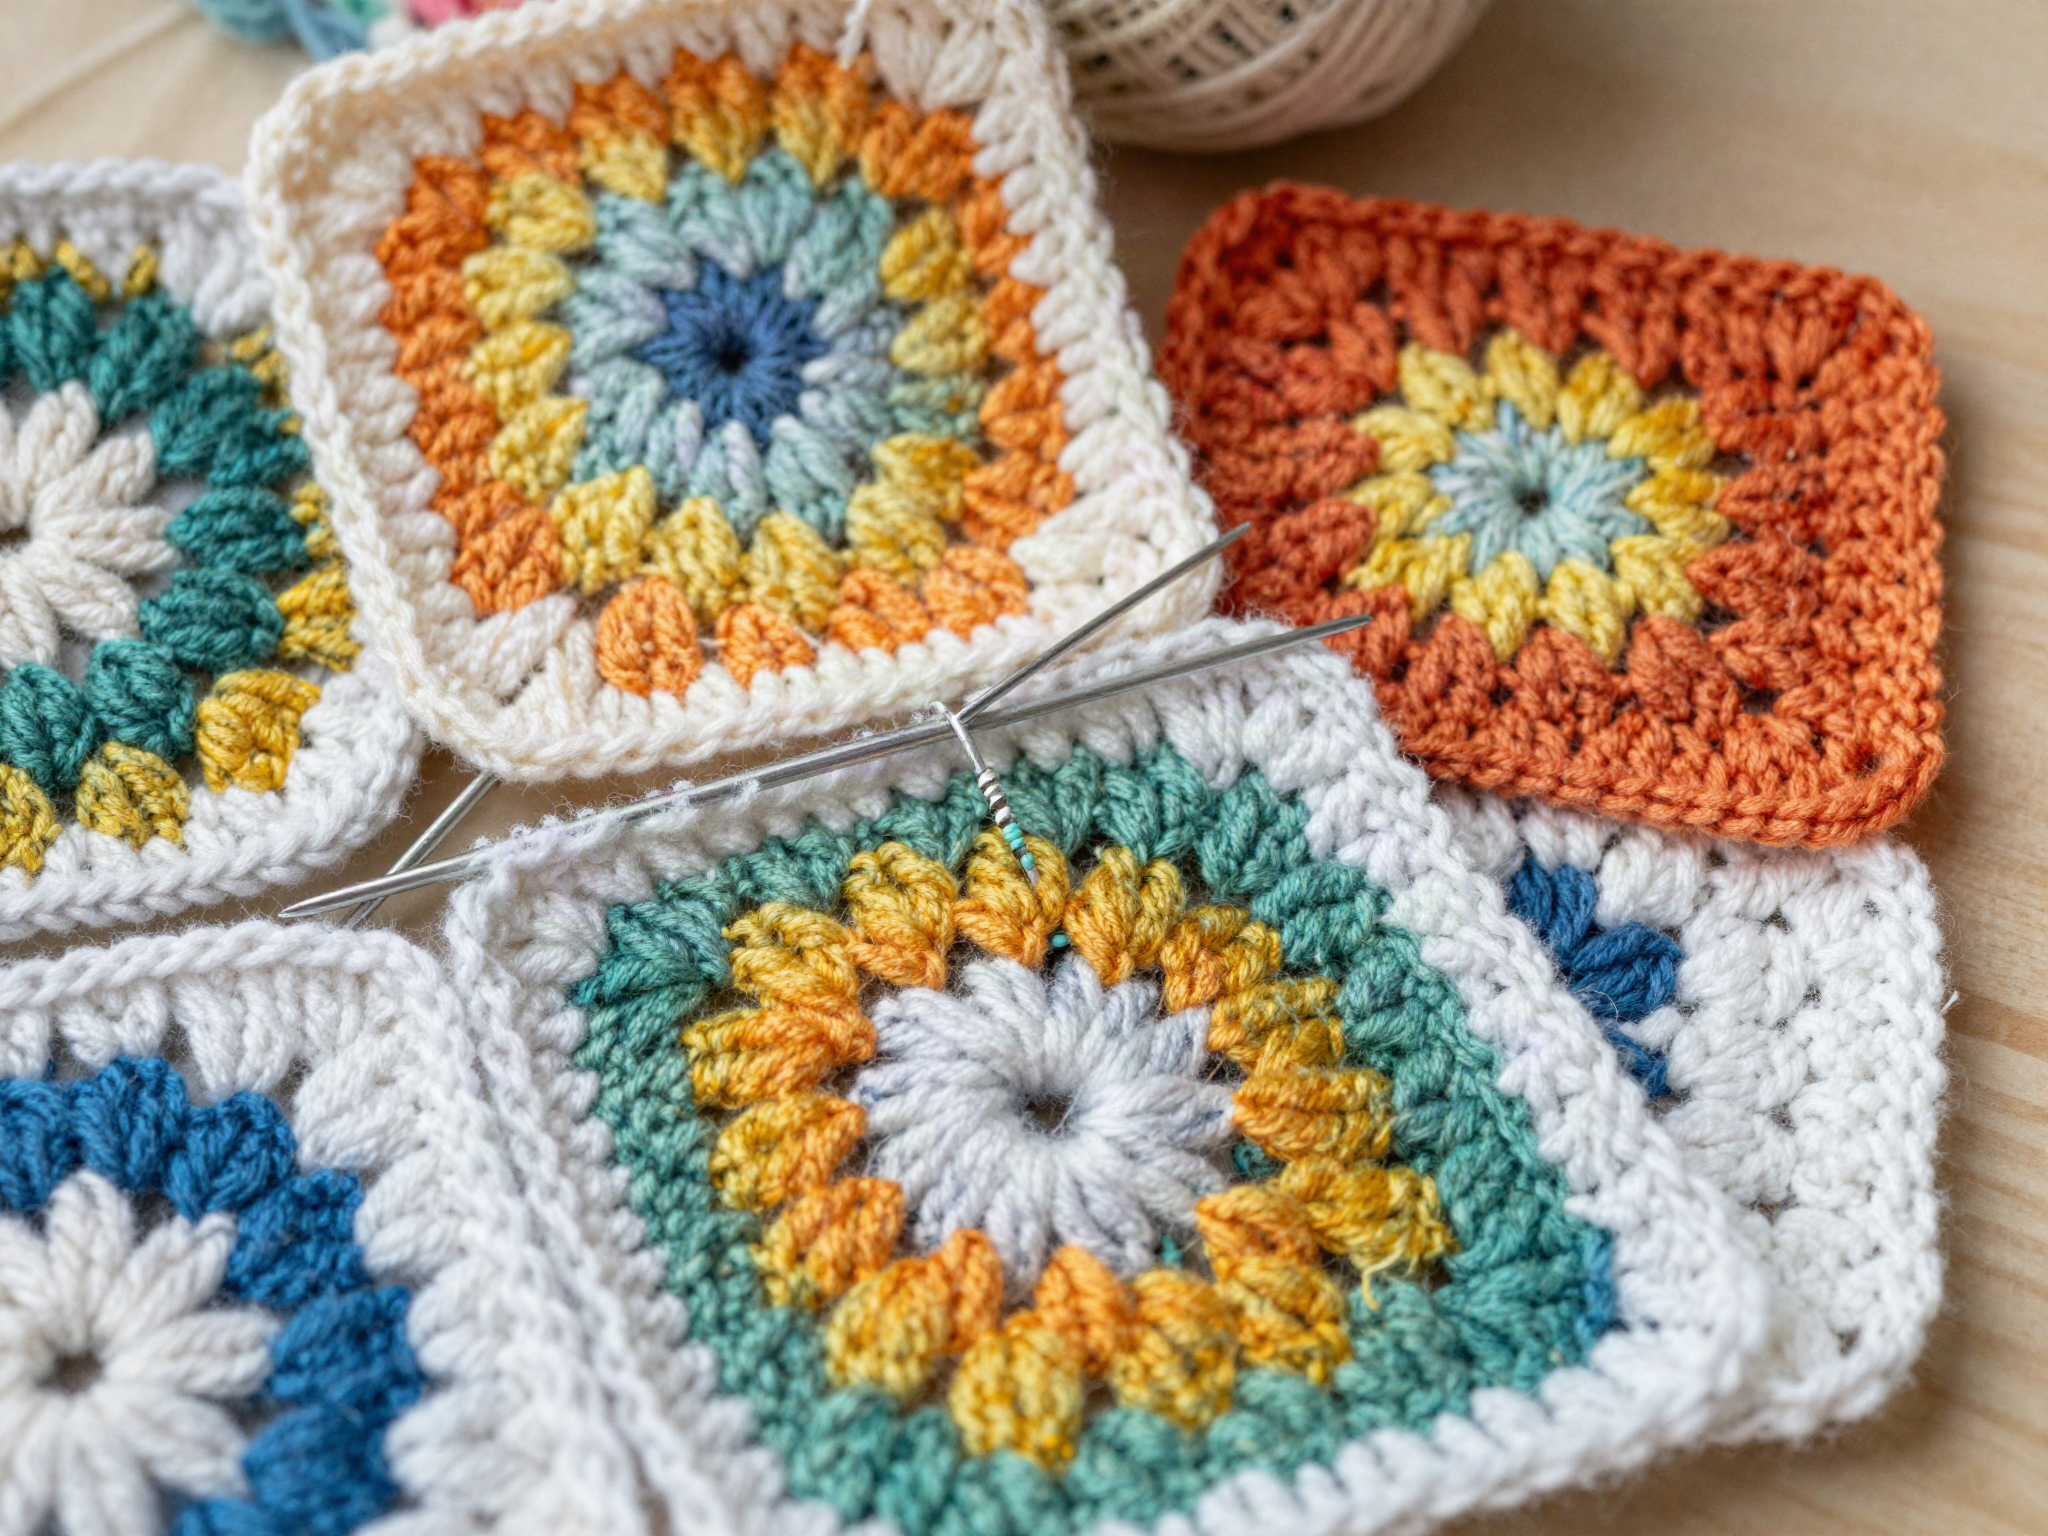
Crochet 42 granny squares (adjust count to your size) using 3 color rounds, finishing every square with 2 rounds in your main color so they read as one fabric.
Tip: Weave in ends as you go — you will thank yourself later when 42 squares need joining.
- 2
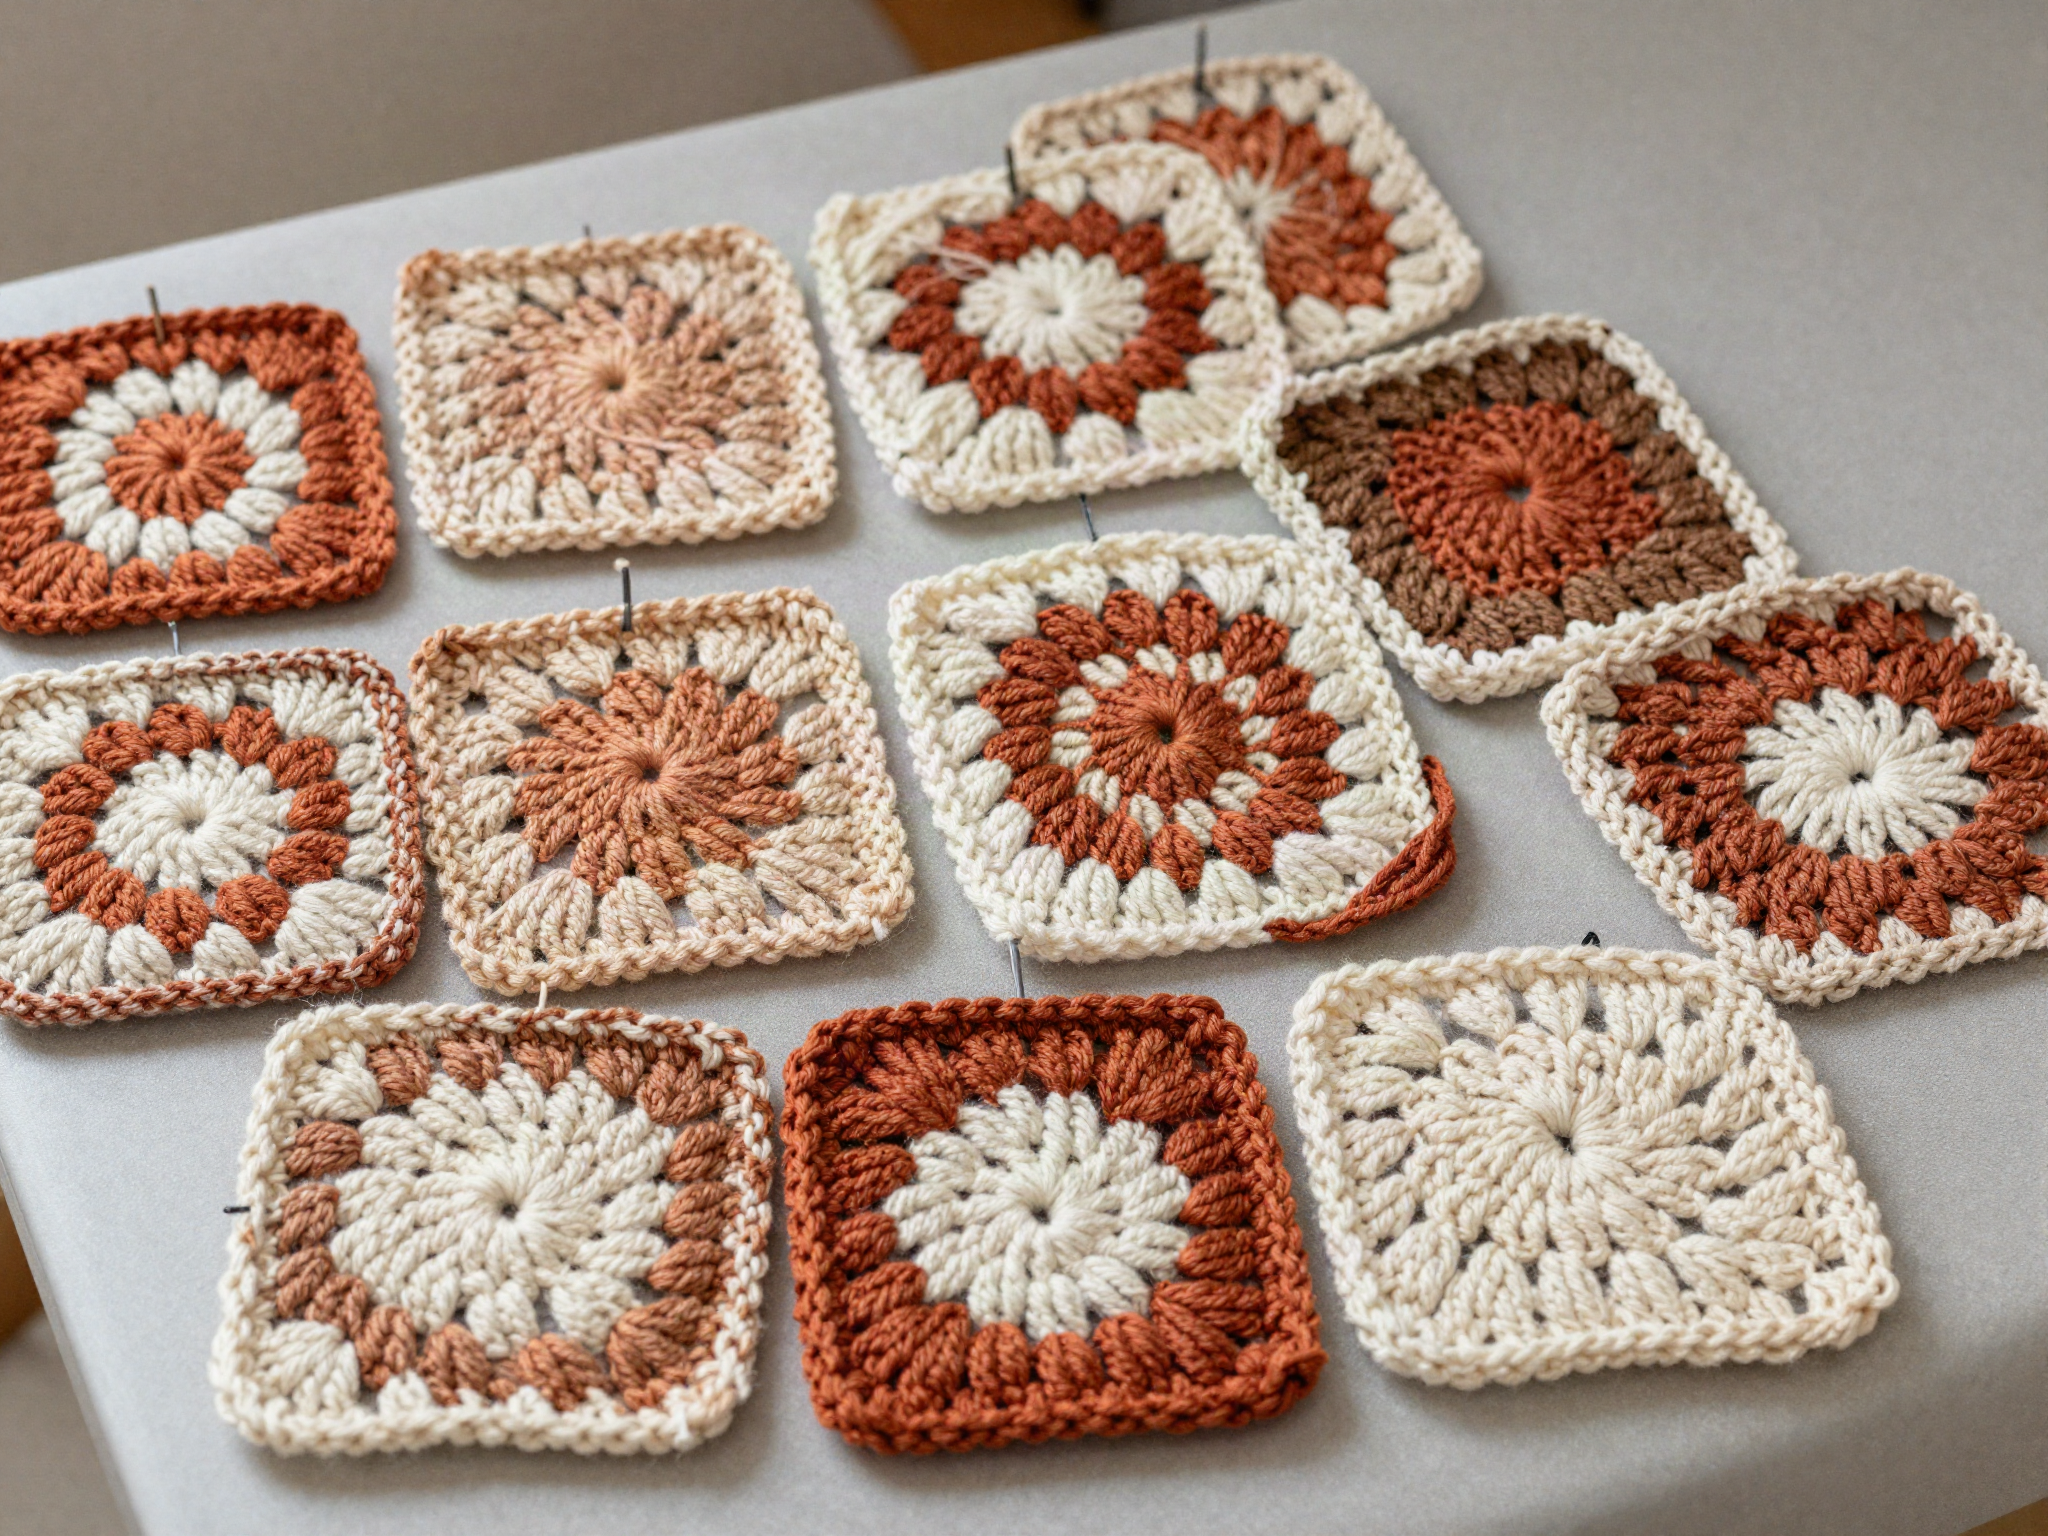
Block the squares
Wet-block or steam-block every square to the same measurement so the seams line up cleanly.
- 3
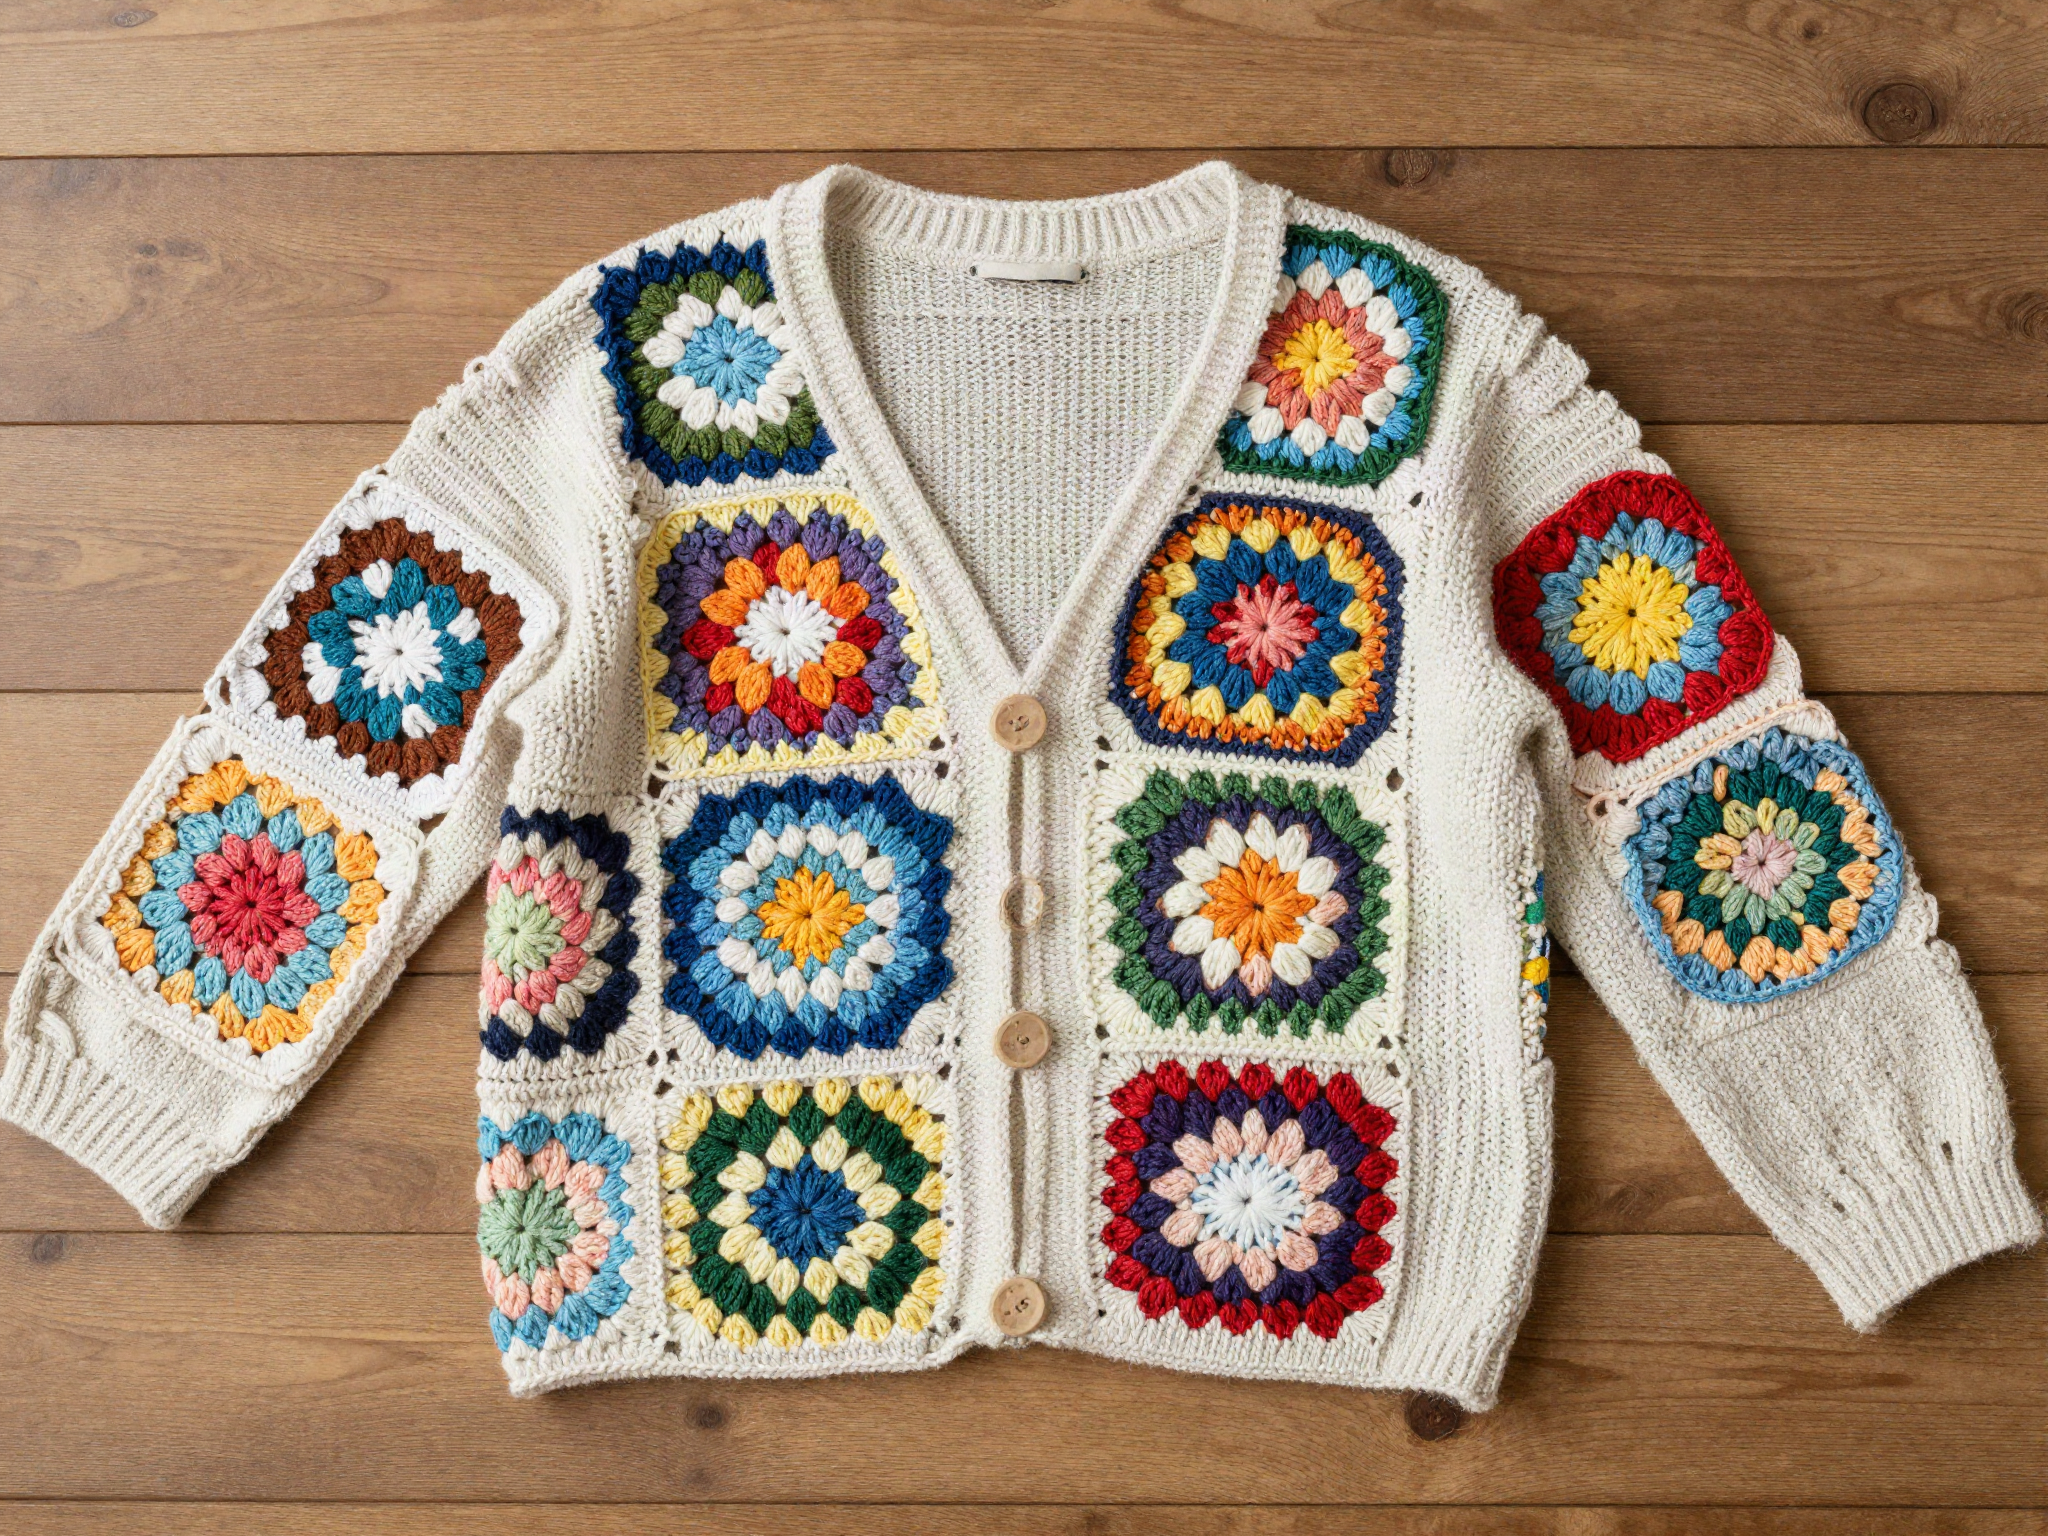
Lay out the pattern
Arrange squares into two rectangles for the fronts and one larger rectangle for the back, leaving armhole gaps according to your size.
- 4
Join with slip stitch or single crochet
Join squares edge to edge using slip stitch through both loops for an invisible seam, or single crochet for a decorative ridge.
- 5
Seam shoulders and sides
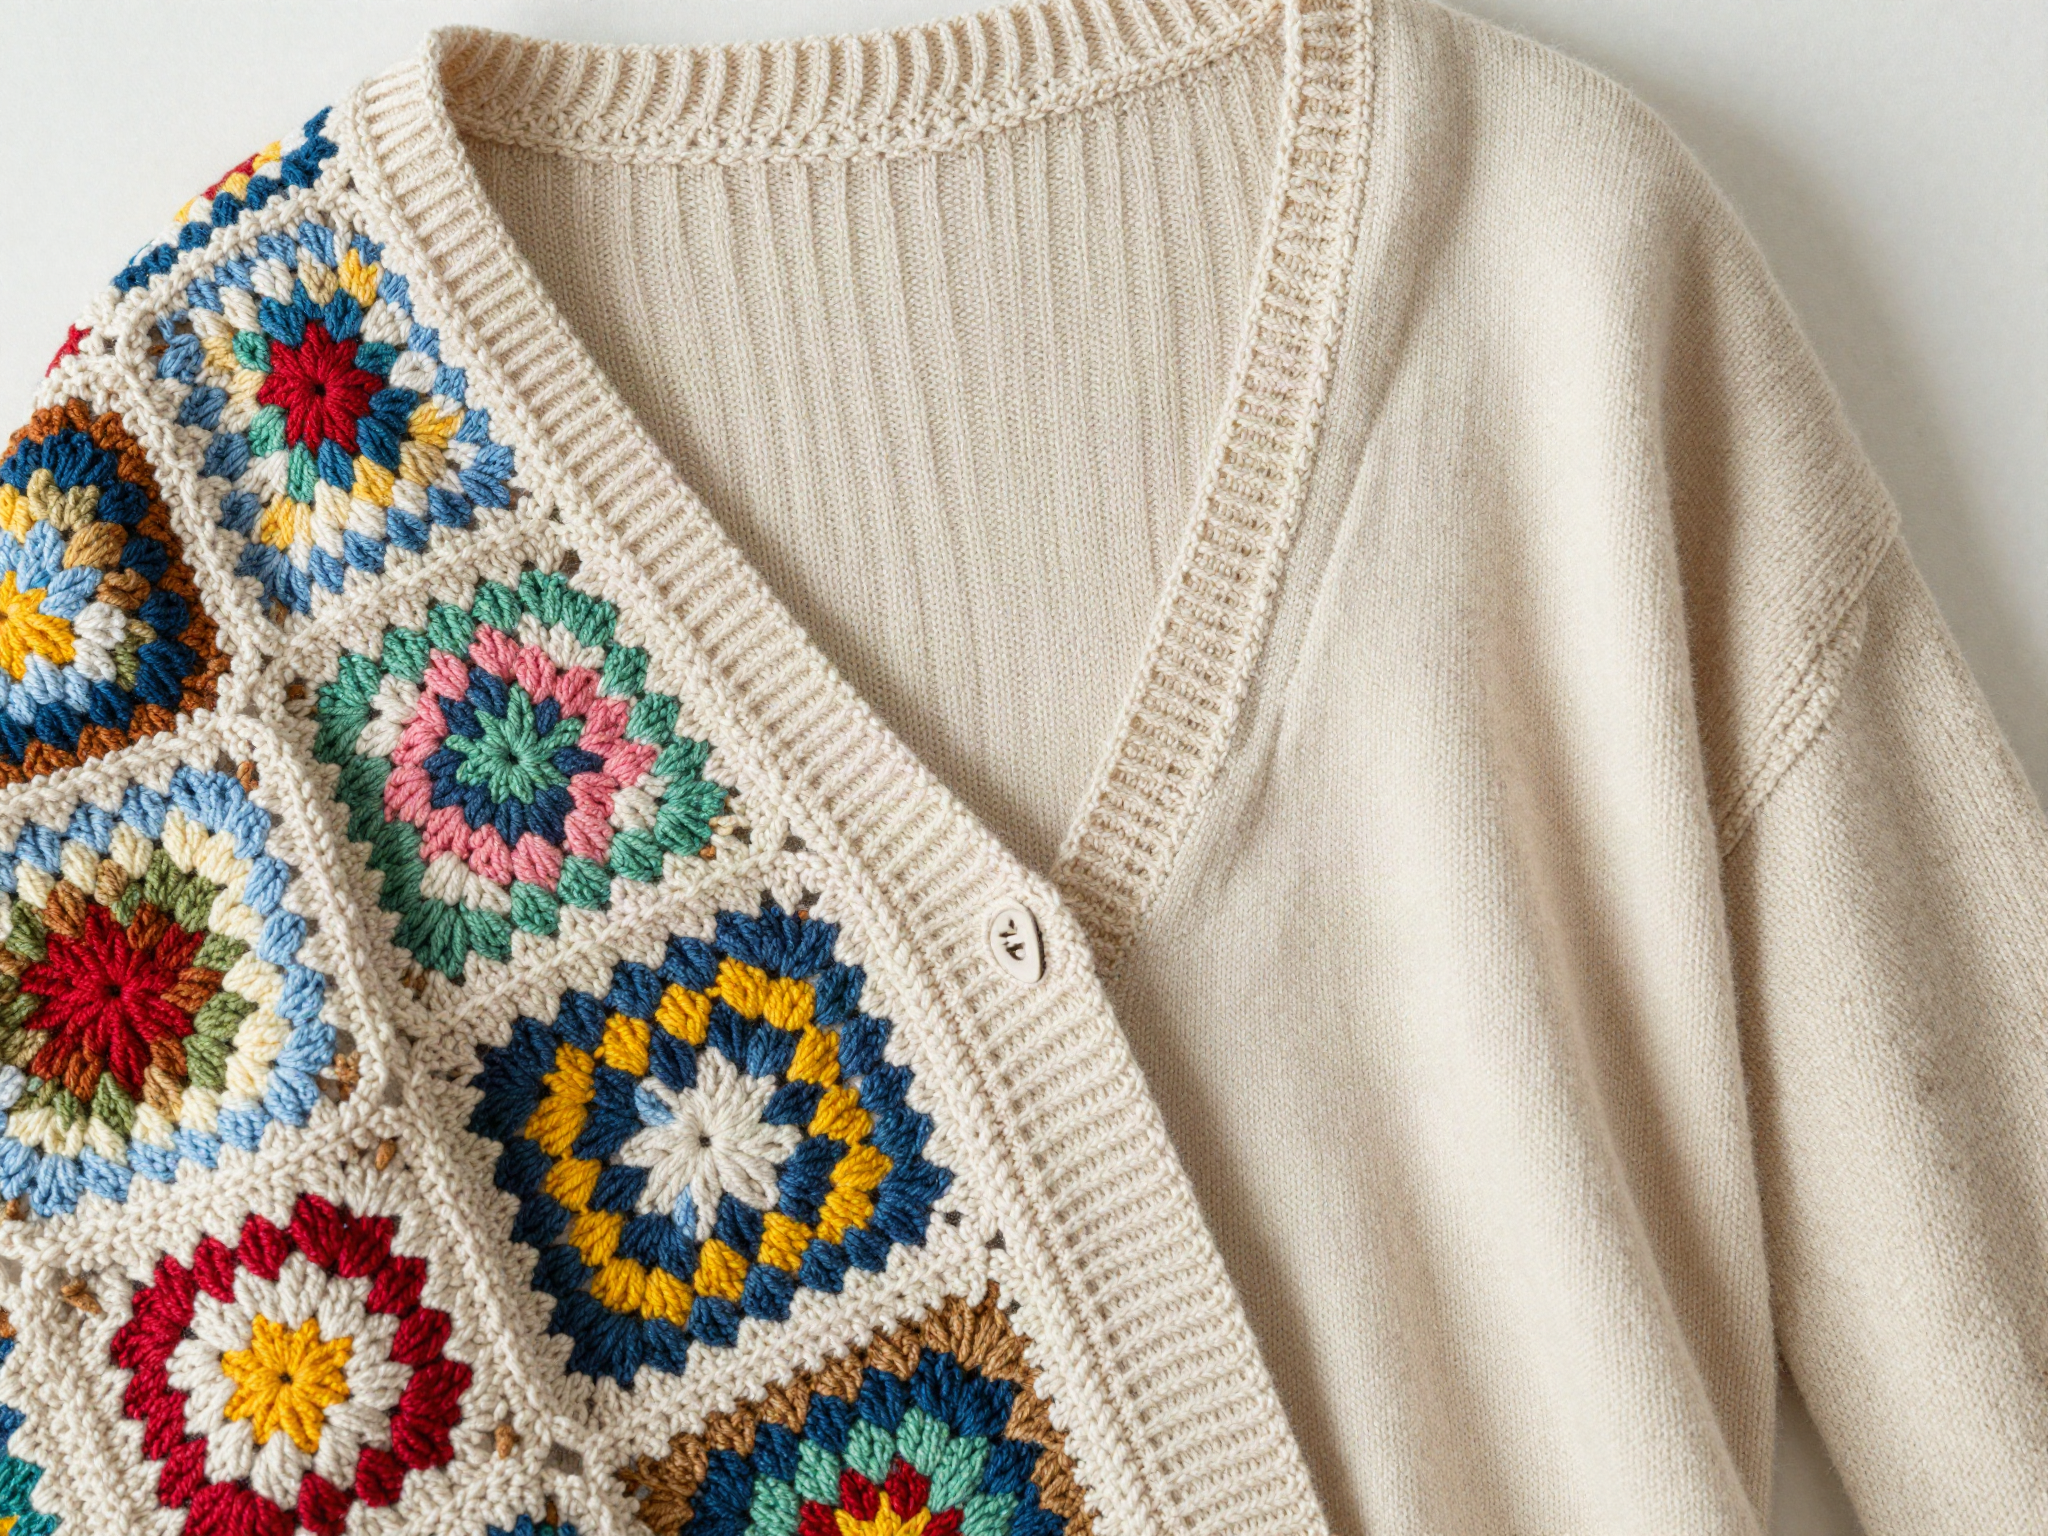
Sew shoulder seams first, then side seams from hem to armhole, leaving the top open for sleeves.
- 6
Add sleeves and border
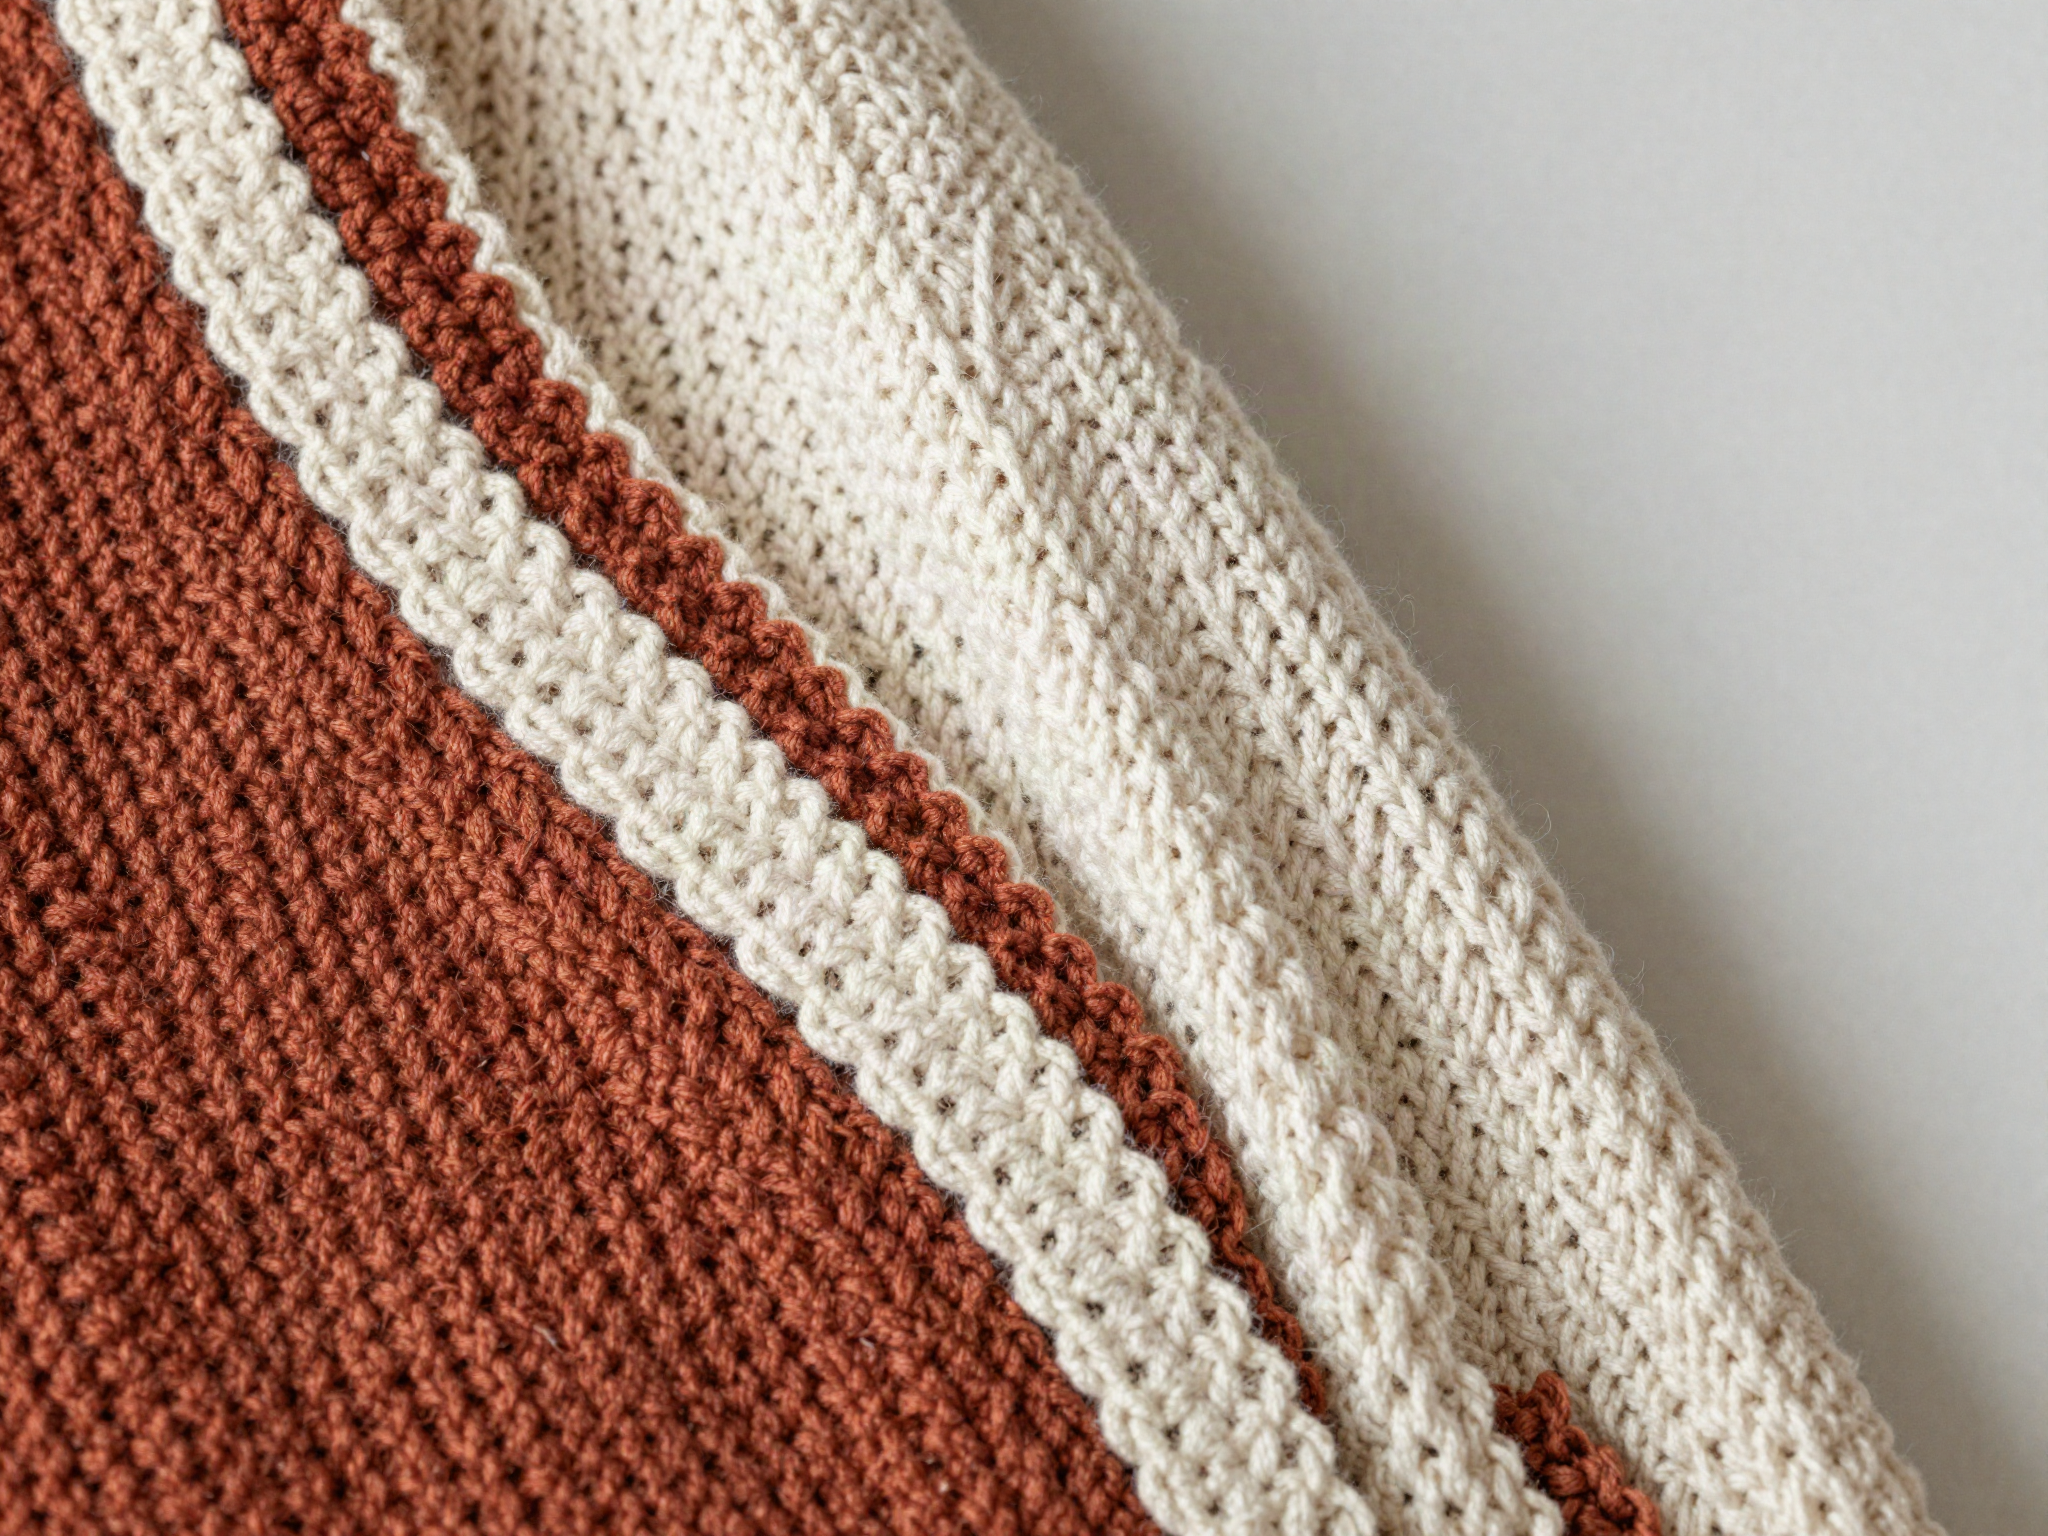
Join squares into two sleeve panels, seam into tubes, then set into the armholes. Finish the whole cardigan with 3 rounds of single crochet around the edges, collar and cuffs.
Tip: A single row of crab stitch (reverse single crochet) on the front edges gives a clean, corded finish.
Helpful Tips
- Alternate two skeins every 2 rows to avoid visible dye-lot banding in the main color.
- Lay squares out on the floor before joining — it is much easier to fix a color mistake now than after seaming.
Related Projects
 Premium
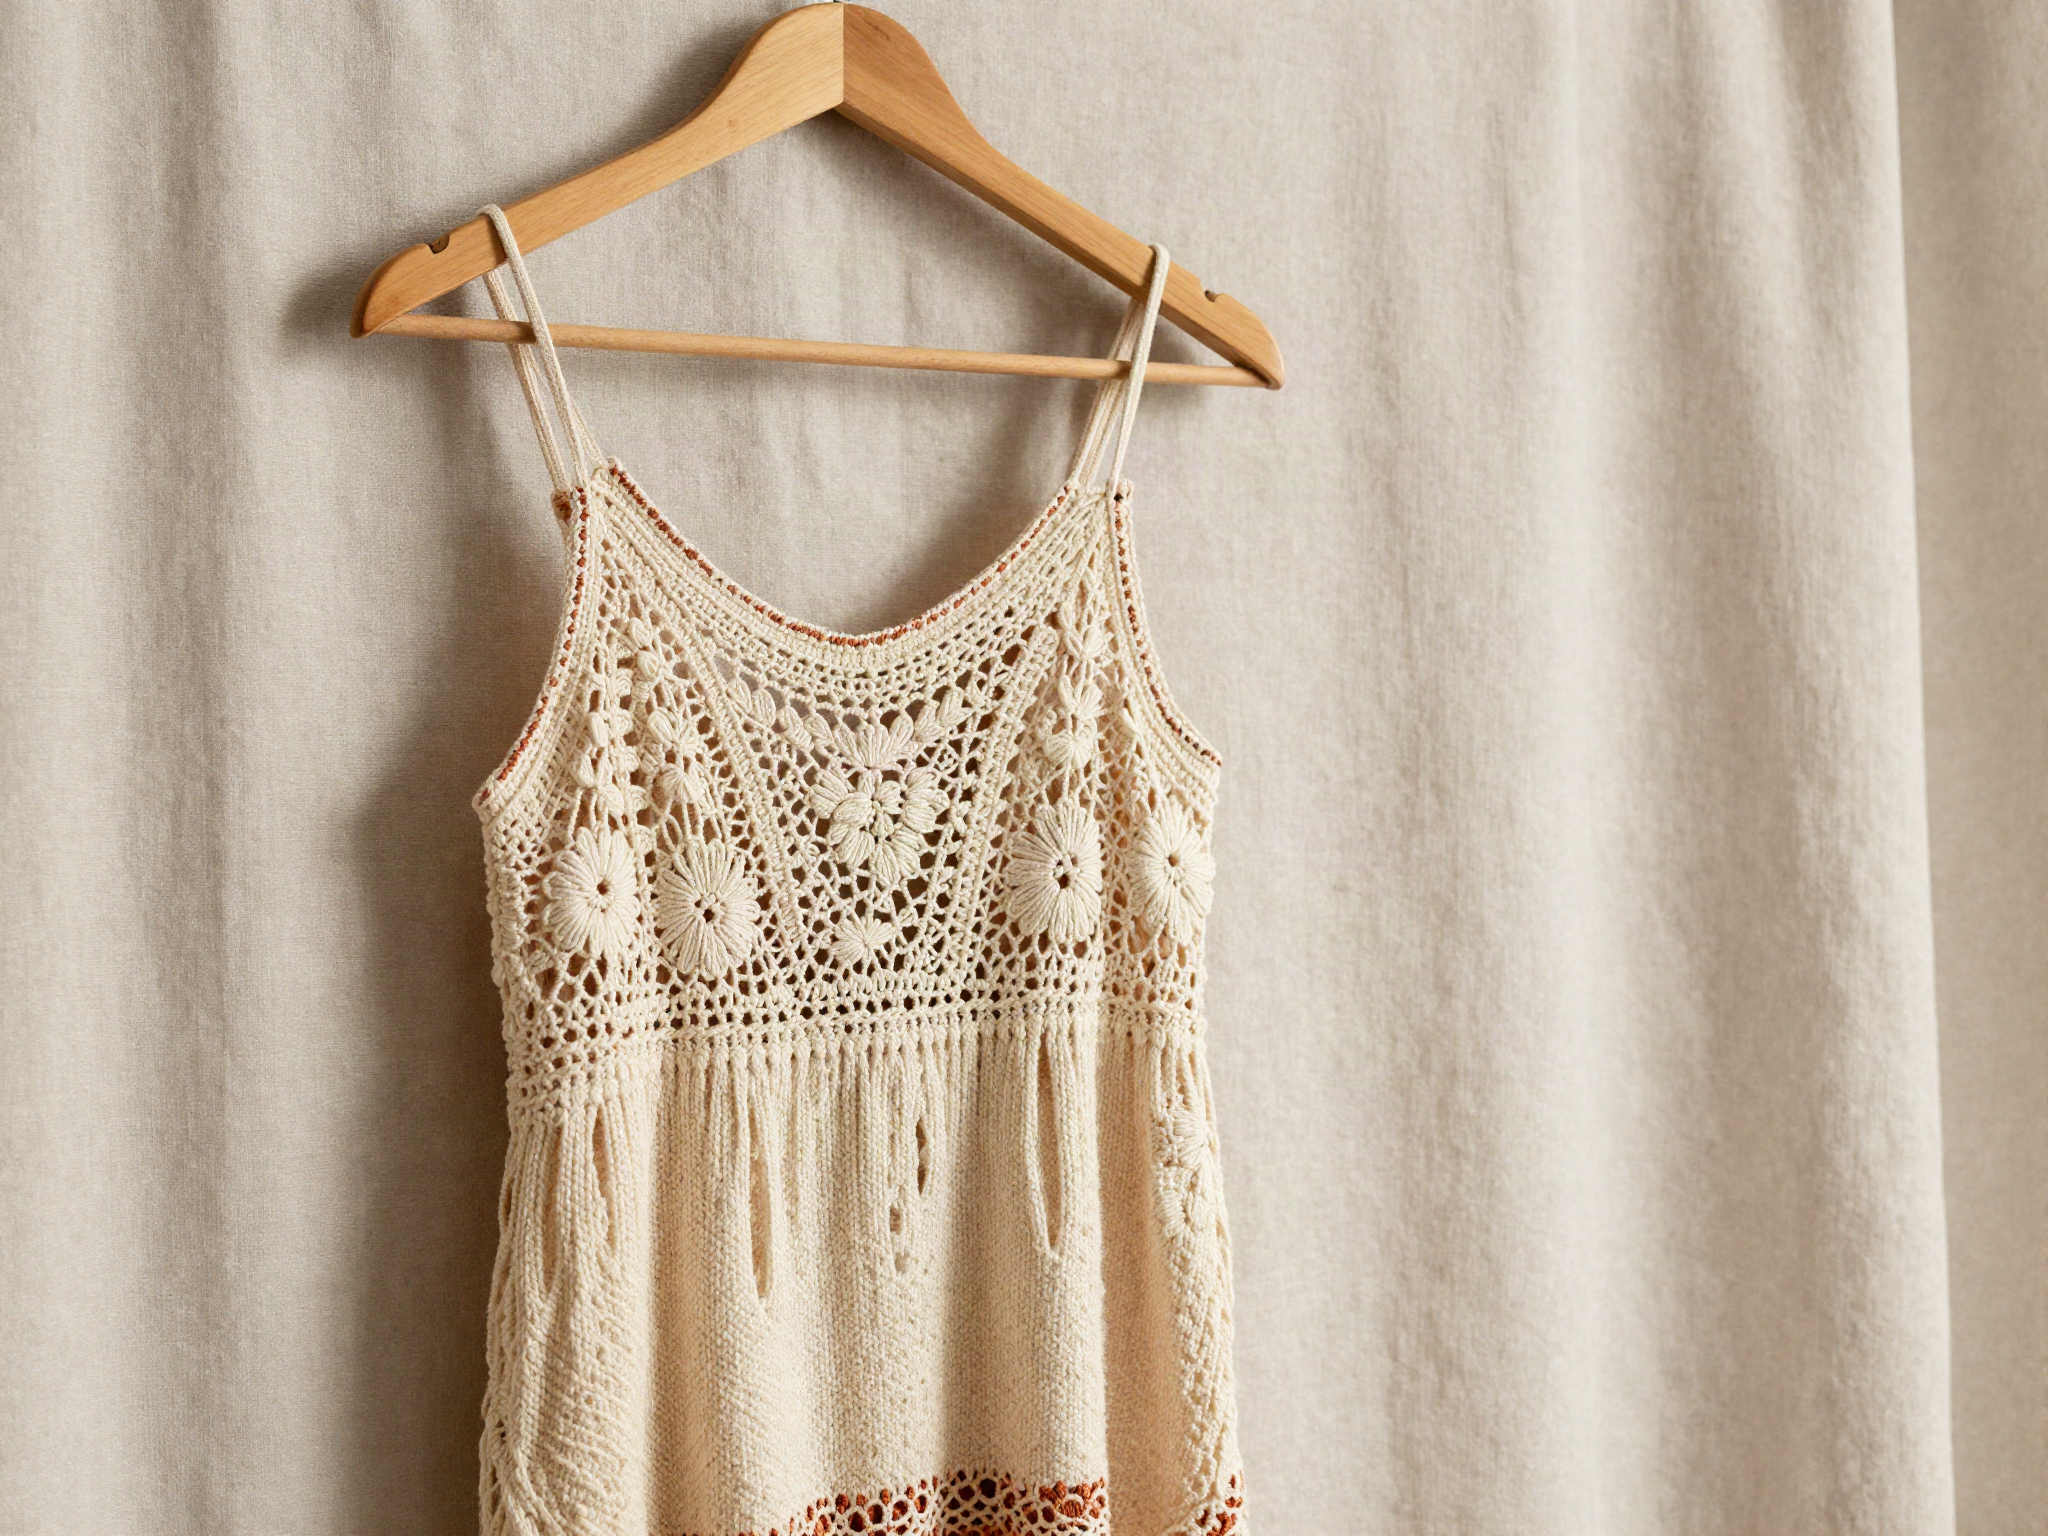
Boho Crochet Sundress
A breezy, lined sundress worked top-down in an easy shell-stitch pattern — perfect for summer.
 Premium
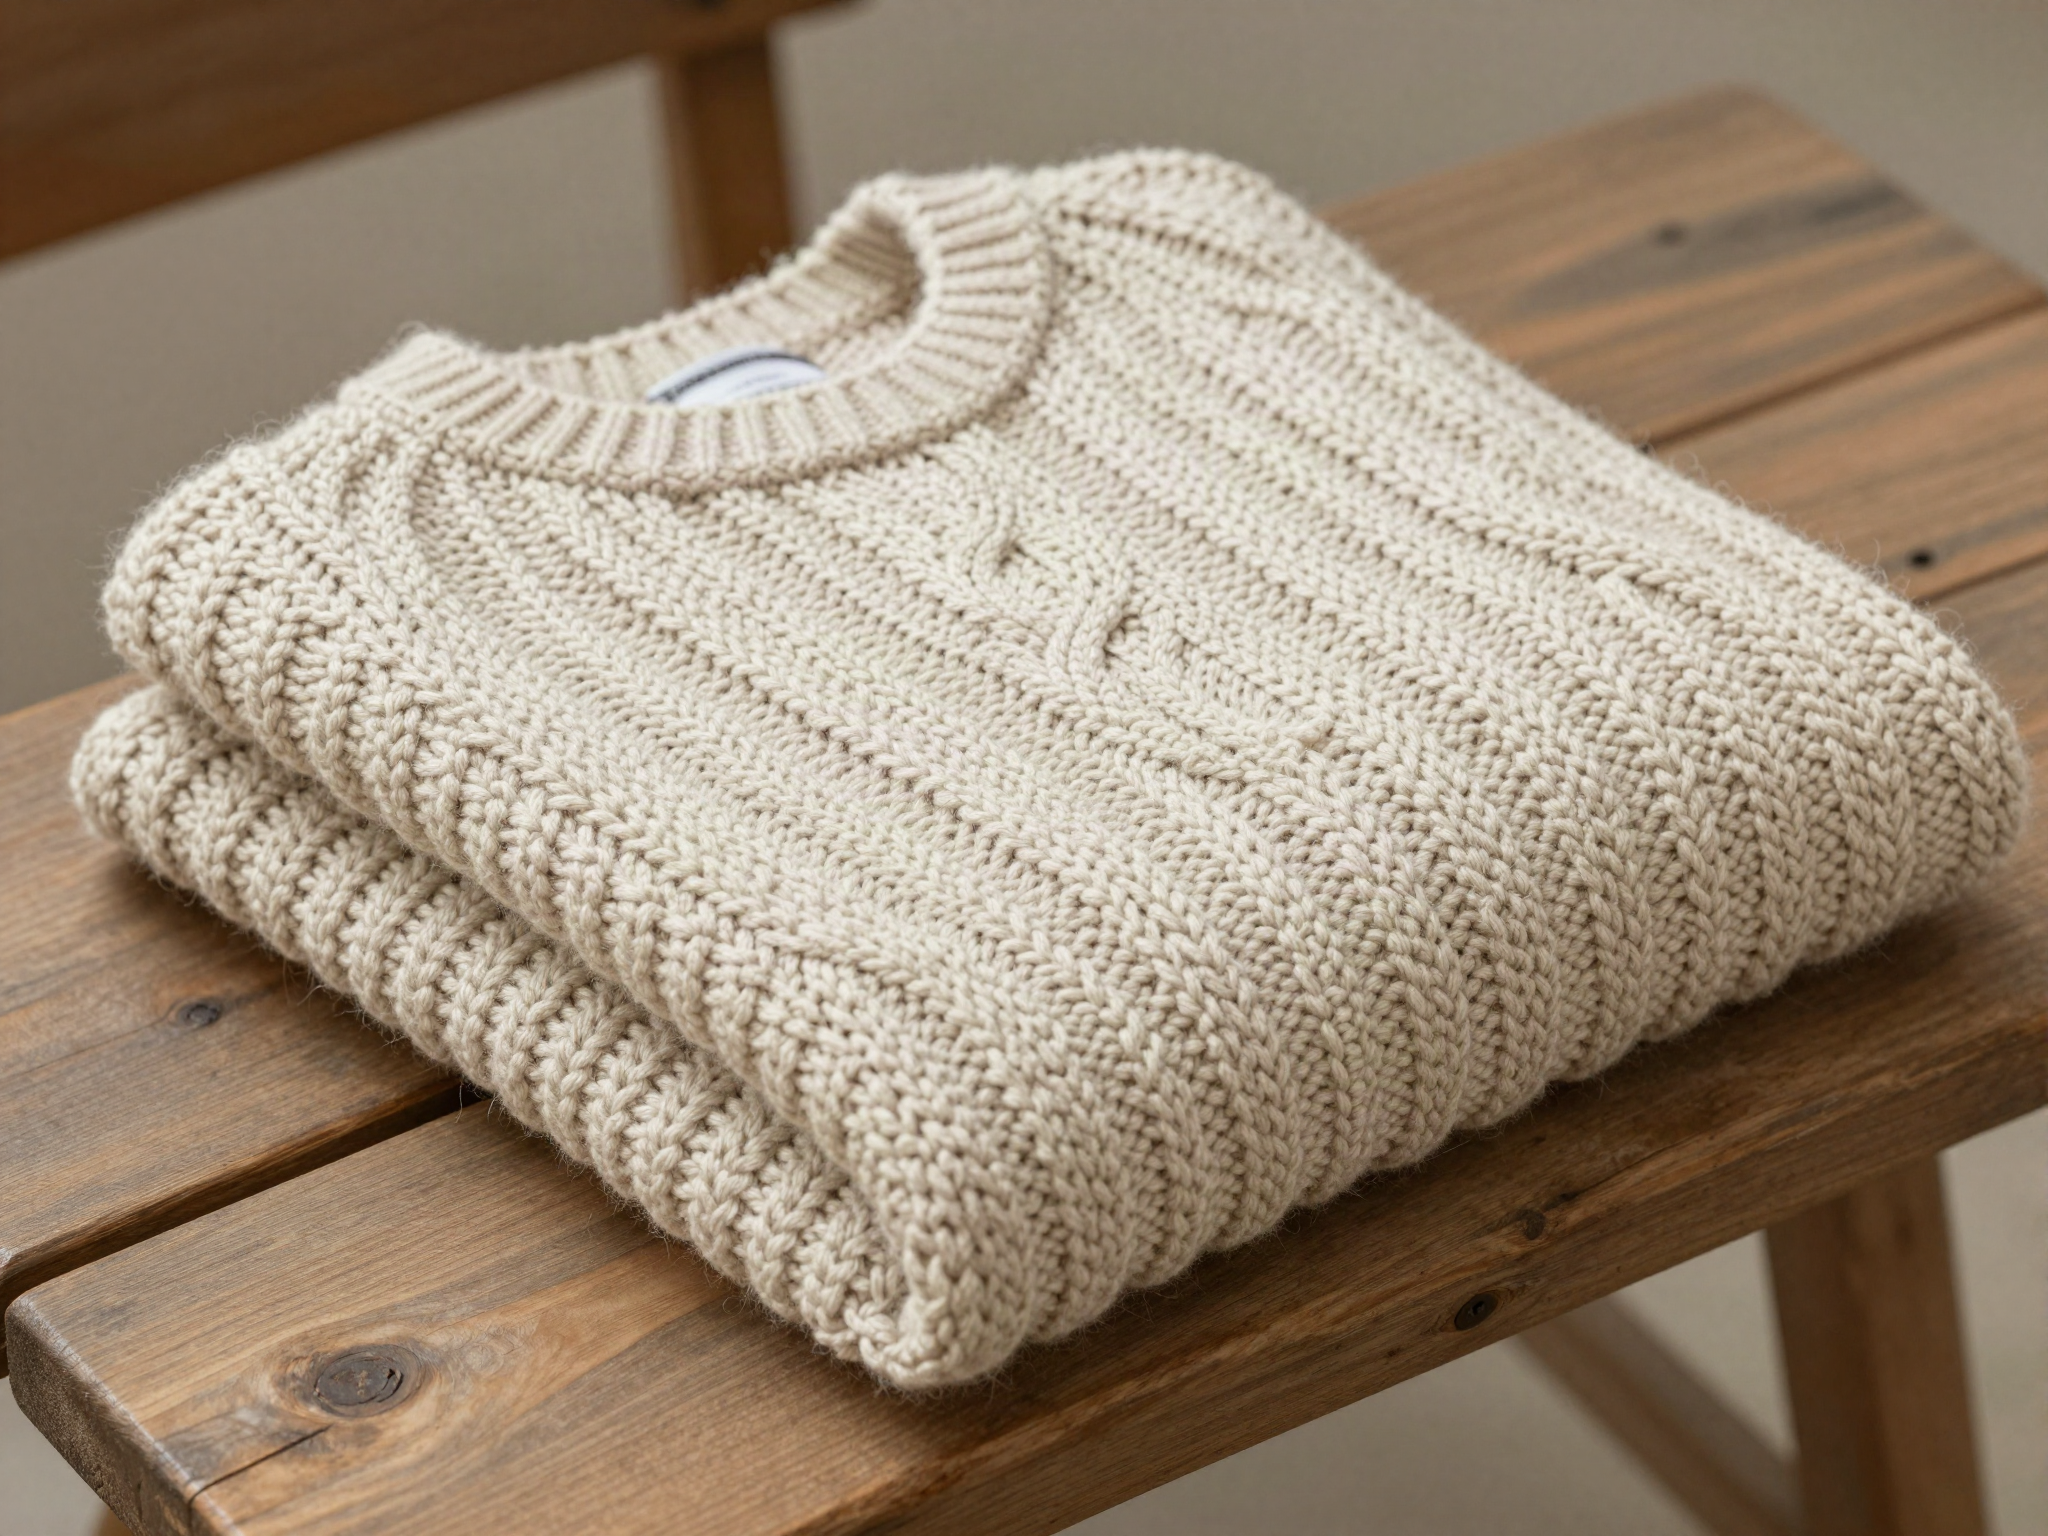
Cozy Cable-Look Sweater
A chunky, cable-textured pullover that looks knitted but is worked entirely in crochet post stitches.